Levven Q Gateway
El Levven Q es una puerta de enlace de red que conecta el dispositivo móvil del propietario a los dispositivos Levven en el hogar.
Los propietarios que instalen la aplicación móvil Levven Controls en su teléfono o tableta pueden conectarse a su Levven Q y acceder a sus interruptores y controladores.
Cuando se conecta a una puerta de enlace Levven Q, un usuario puede:
- Encender y apagar dispositivos
- Atenúa las luces
- Personalice los controladores y los interruptores de energía configurando habitaciones, ingresando nombres de dispositivos y creando automatizaciones domésticas inteligentes (como temporizadores).
- Conéctese a Alexa y a los servicios de asistente de voz de Google
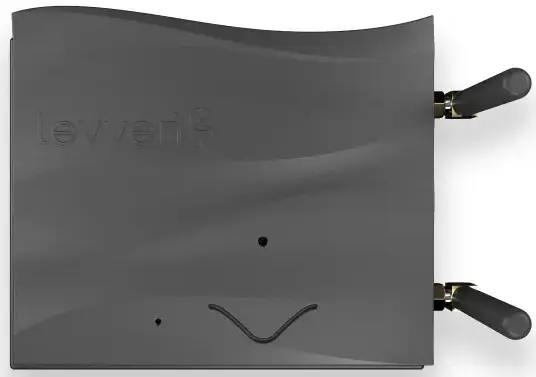
Soporte de montaje de puerta de Q Gateway
El soporte de montaje asegura la puerta de enlace de red Levven Q mientras la casa aún está en construcción. Al entregar la casa al comprador, el superintendente del constructor retira el tornillo de seguridad. El comprador puede entonces acceder y configurar su puerta de enlace Levven Q.
Instalar el soporte de montaje
Para instalar el soporte de montaje:
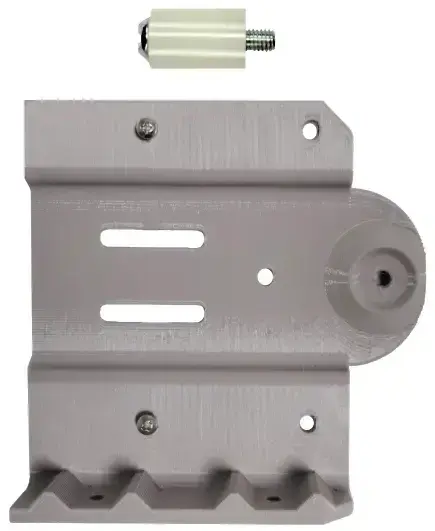
- Desembale el soporte de montaje y el hardware de soporte del Kit Rápido.
- Instale el soporte de montaje en el lado de madera del gabinete de bajo voltaje O en la pared donde se indique en el plano eléctrico.
- Para mantener la coherencia, el soporte debe colocarse con su repisa inferior orientada hacia el suelo y el orificio para el tornillo de seguridad en el lado derecho del soporte.
Instale el Levven Q Gateway en el soporte de montaje
Después de instalar el soporte de montaje en la ubicación especificada en el plano eléctrico, desempaque el Levven Q y sus cables del Kit rápido e instálelo en el soporte de montaje como se muestra.
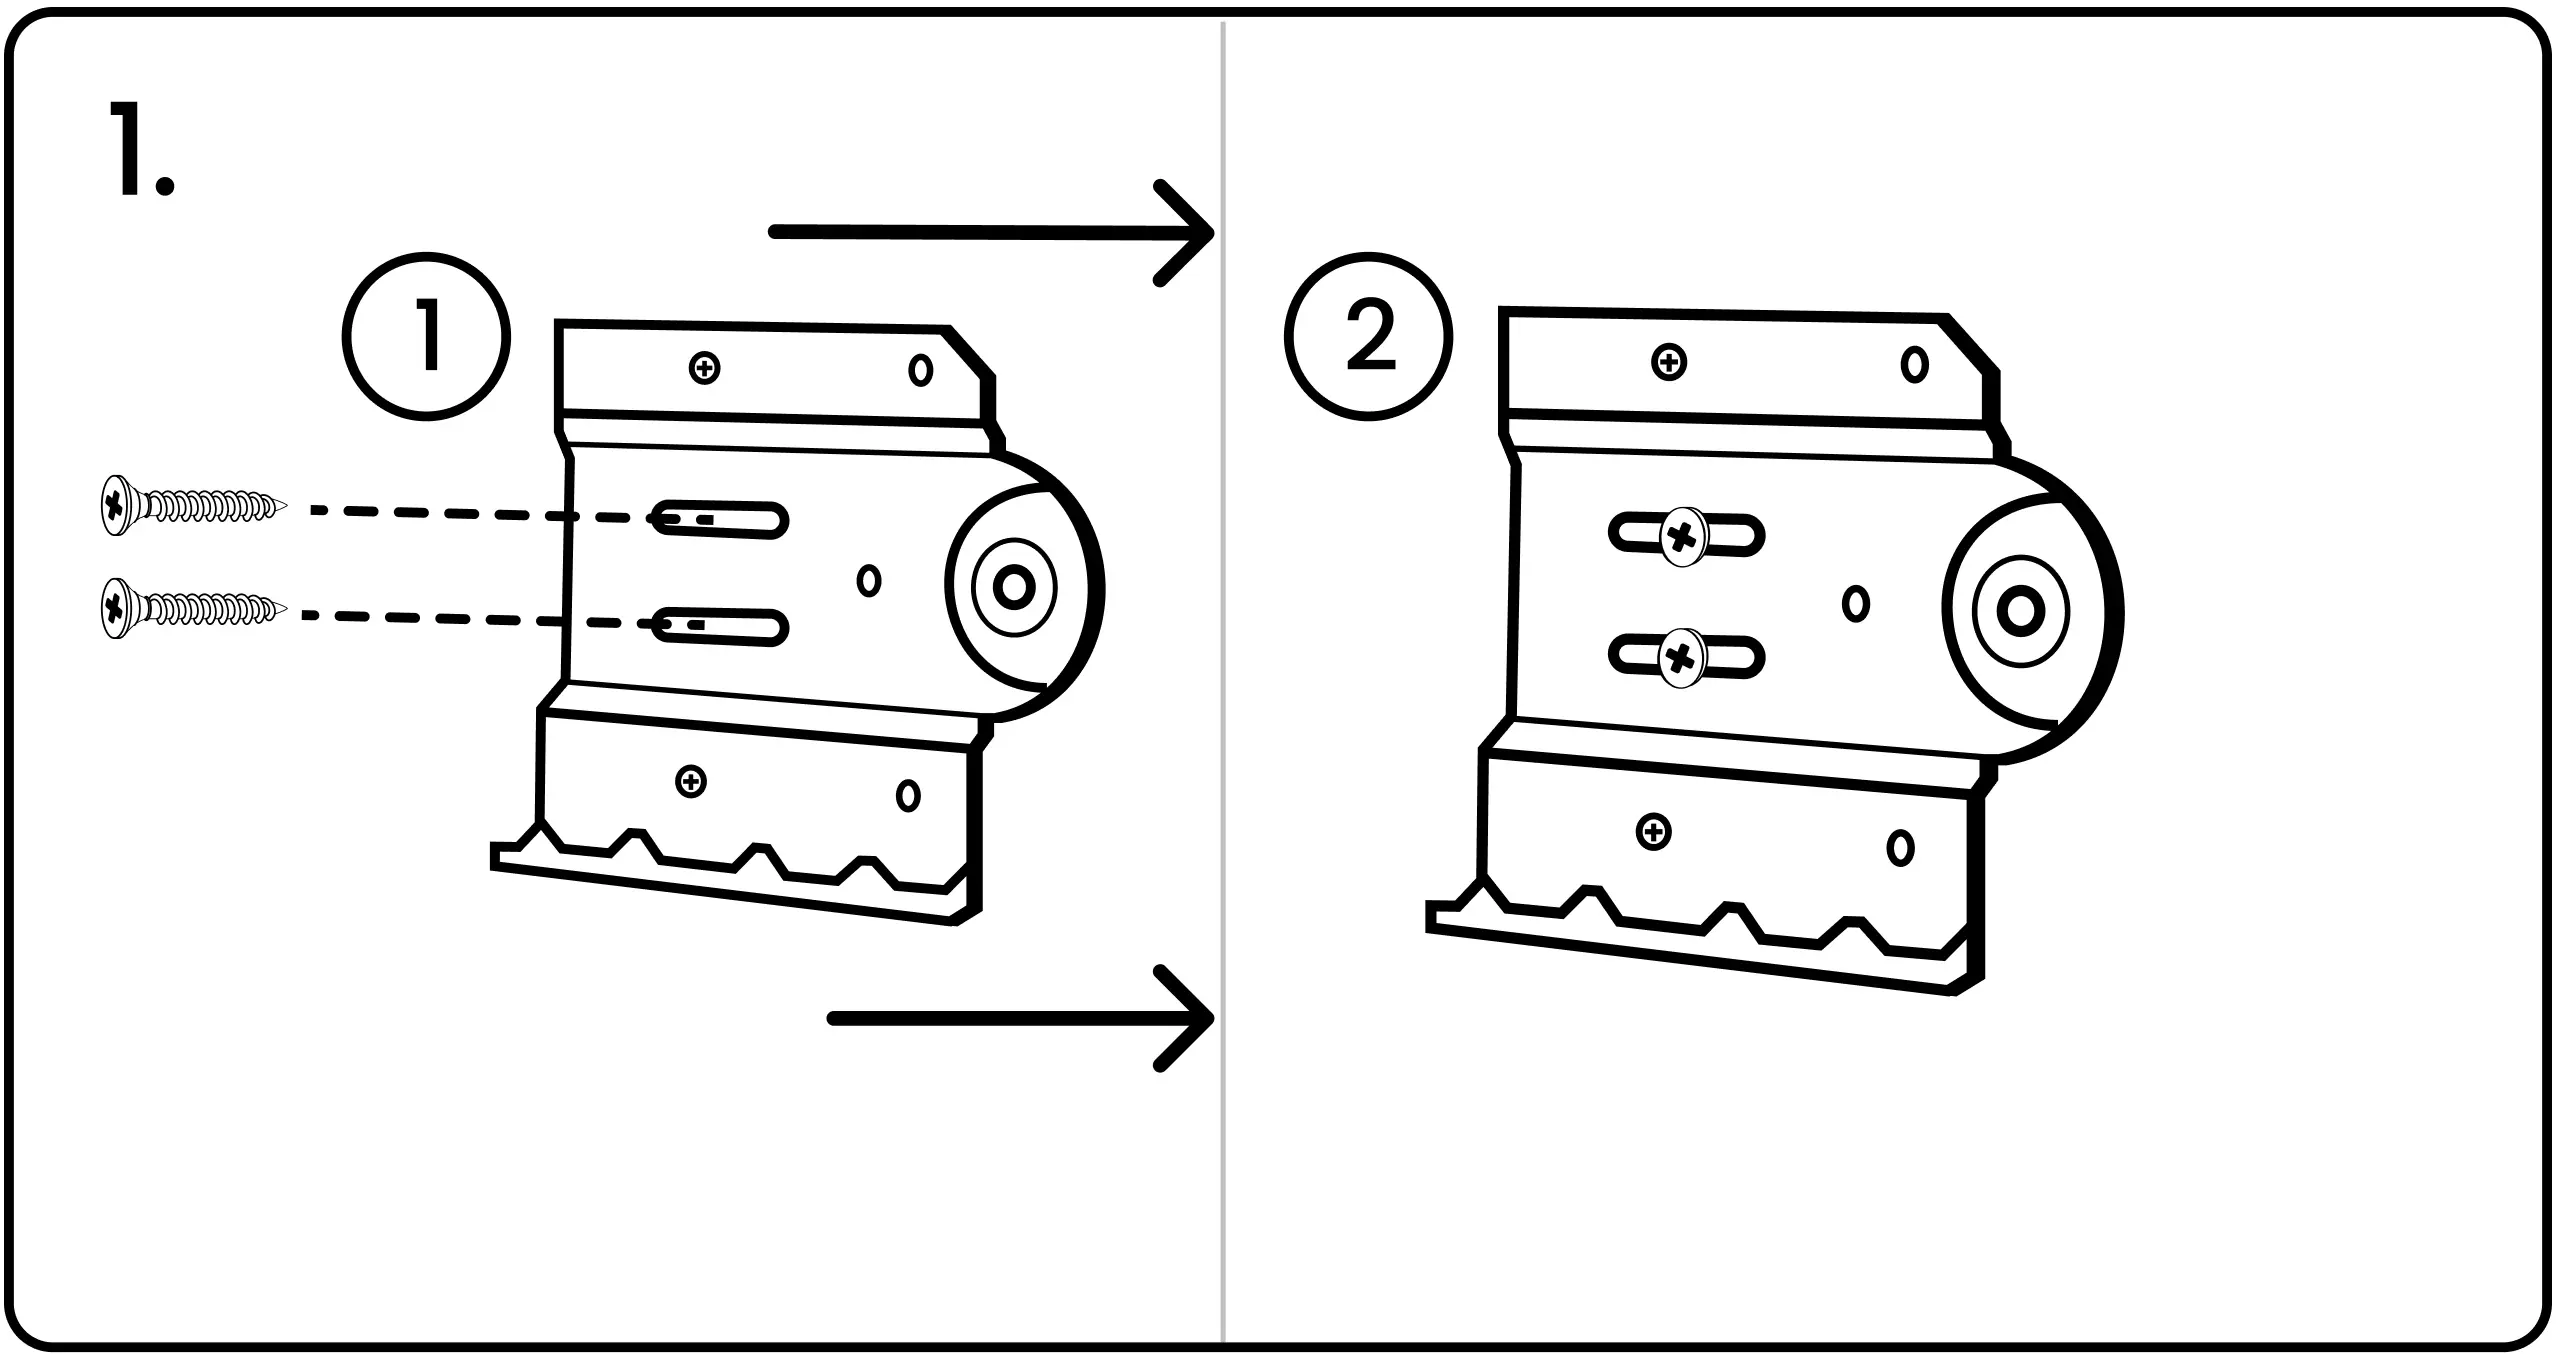
1. Fije el soporte de montaje a un montante de pared con dos tornillos.
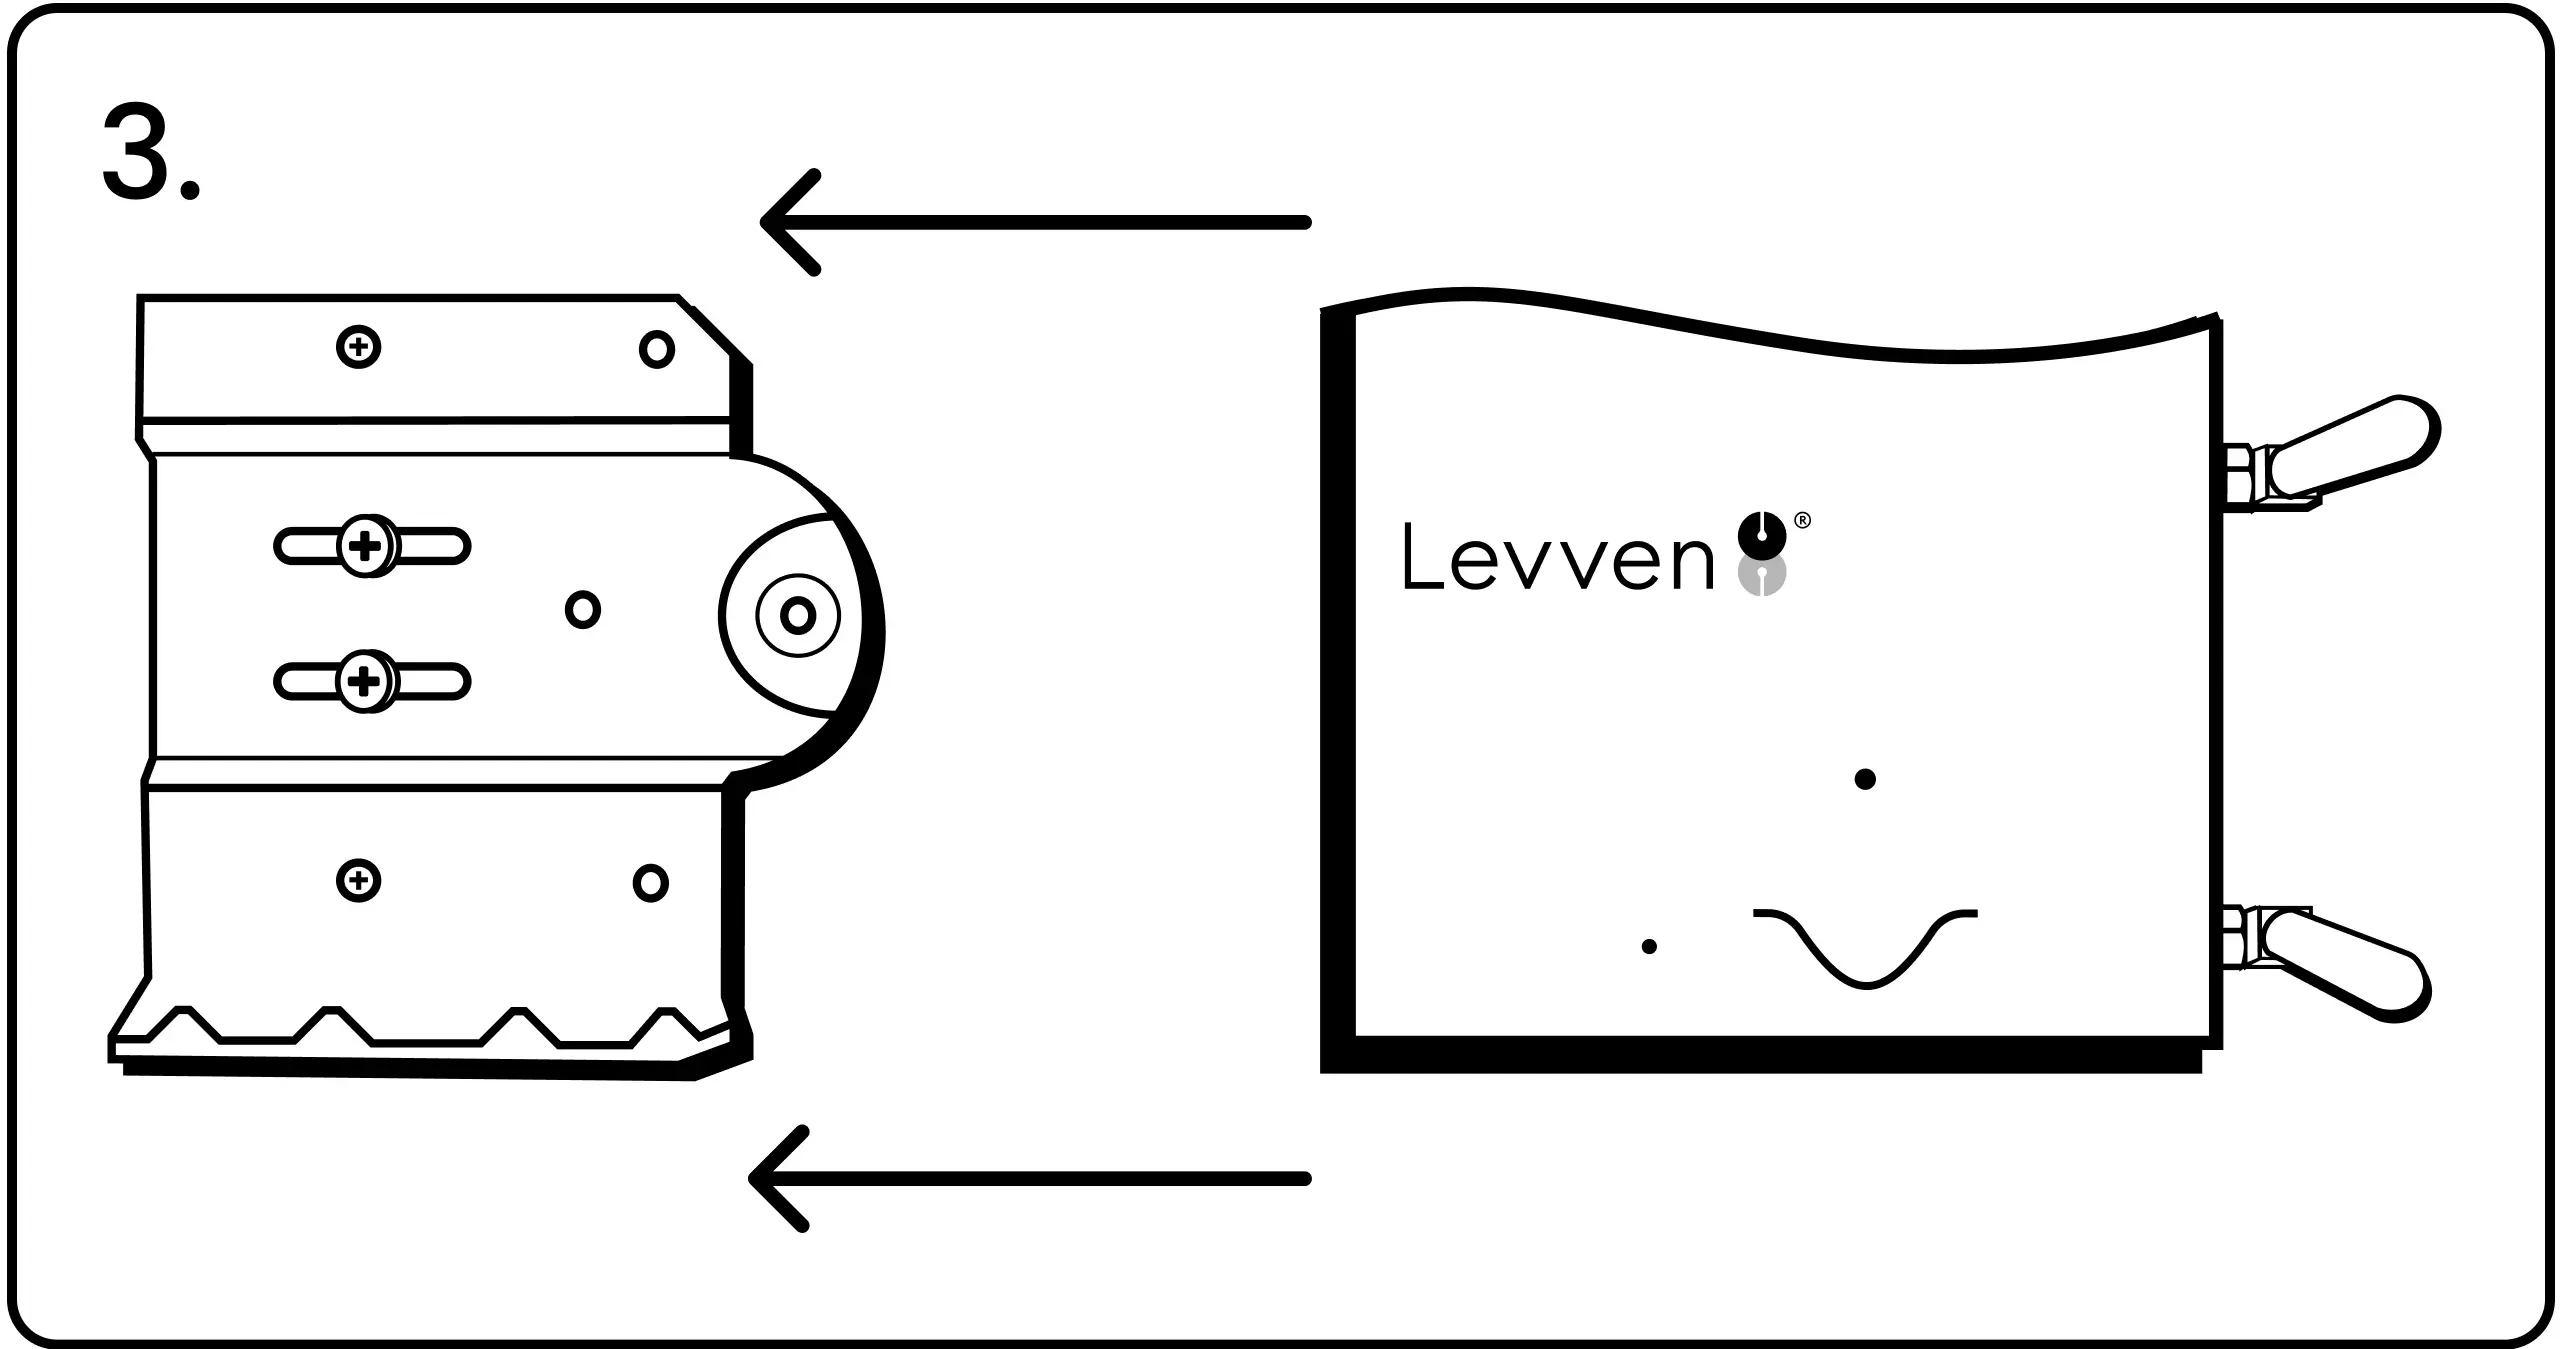
2. Alinee las ranuras del Q Gateway con las del soporte de montaje.
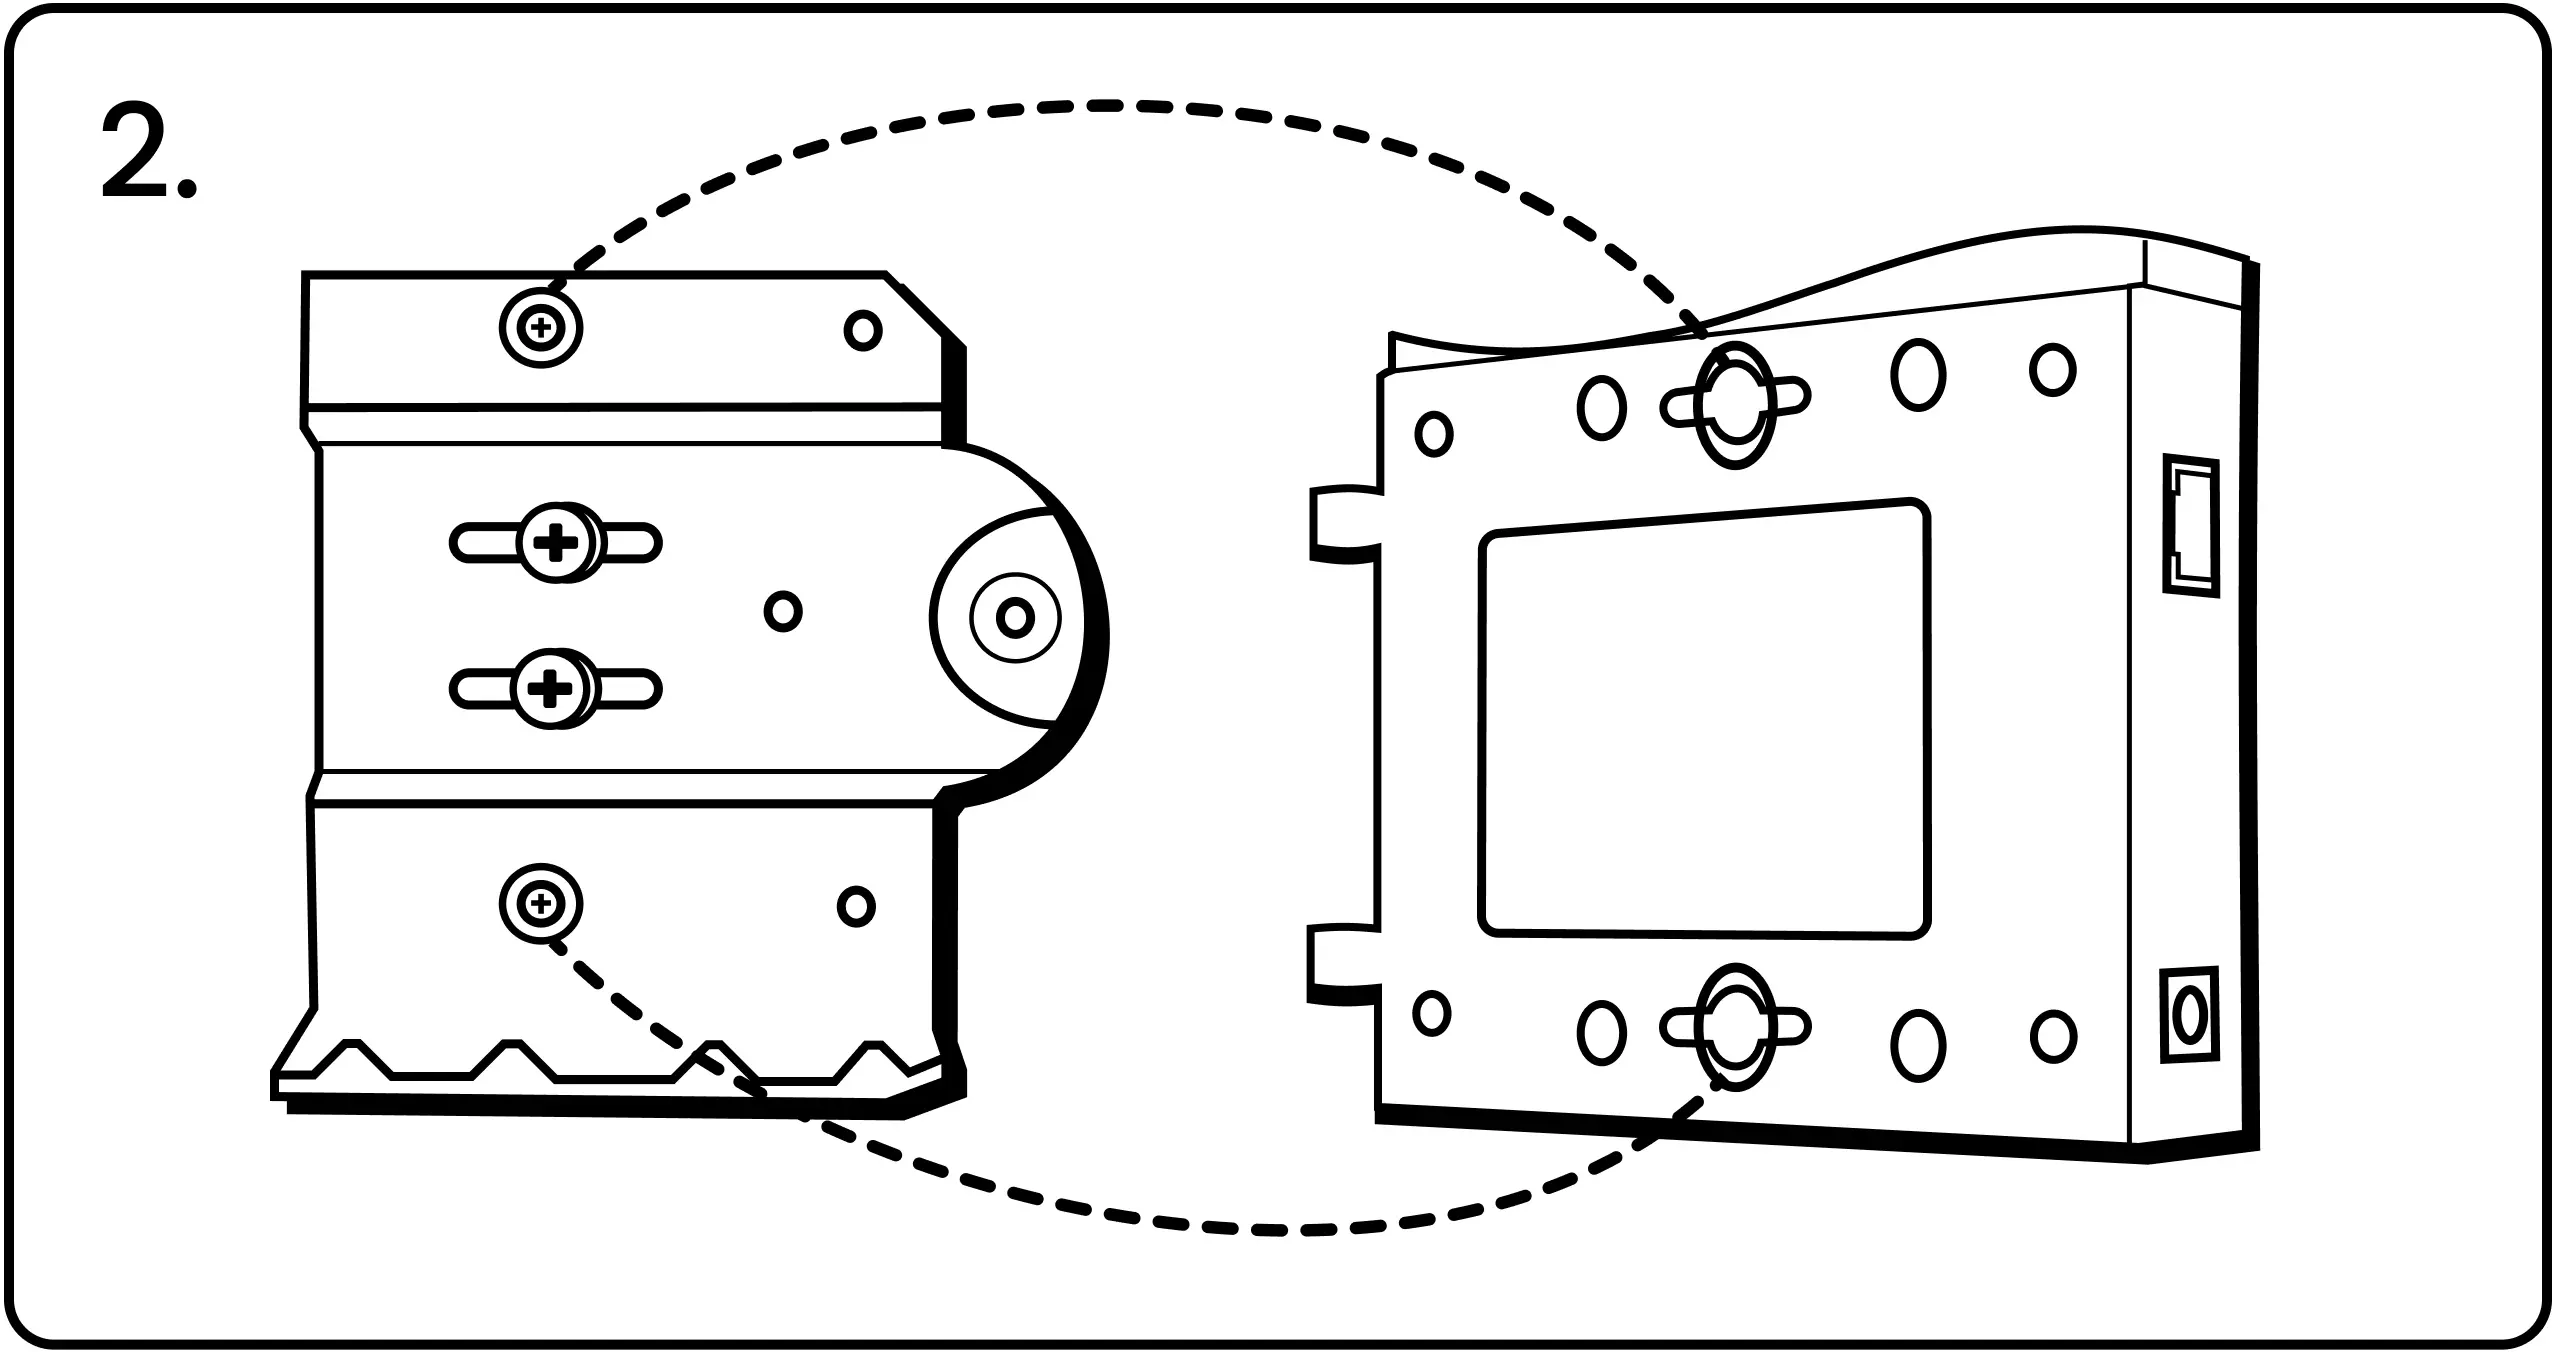
3. Deslice el Q Gateway hacia la izquierda sobre el soporte.
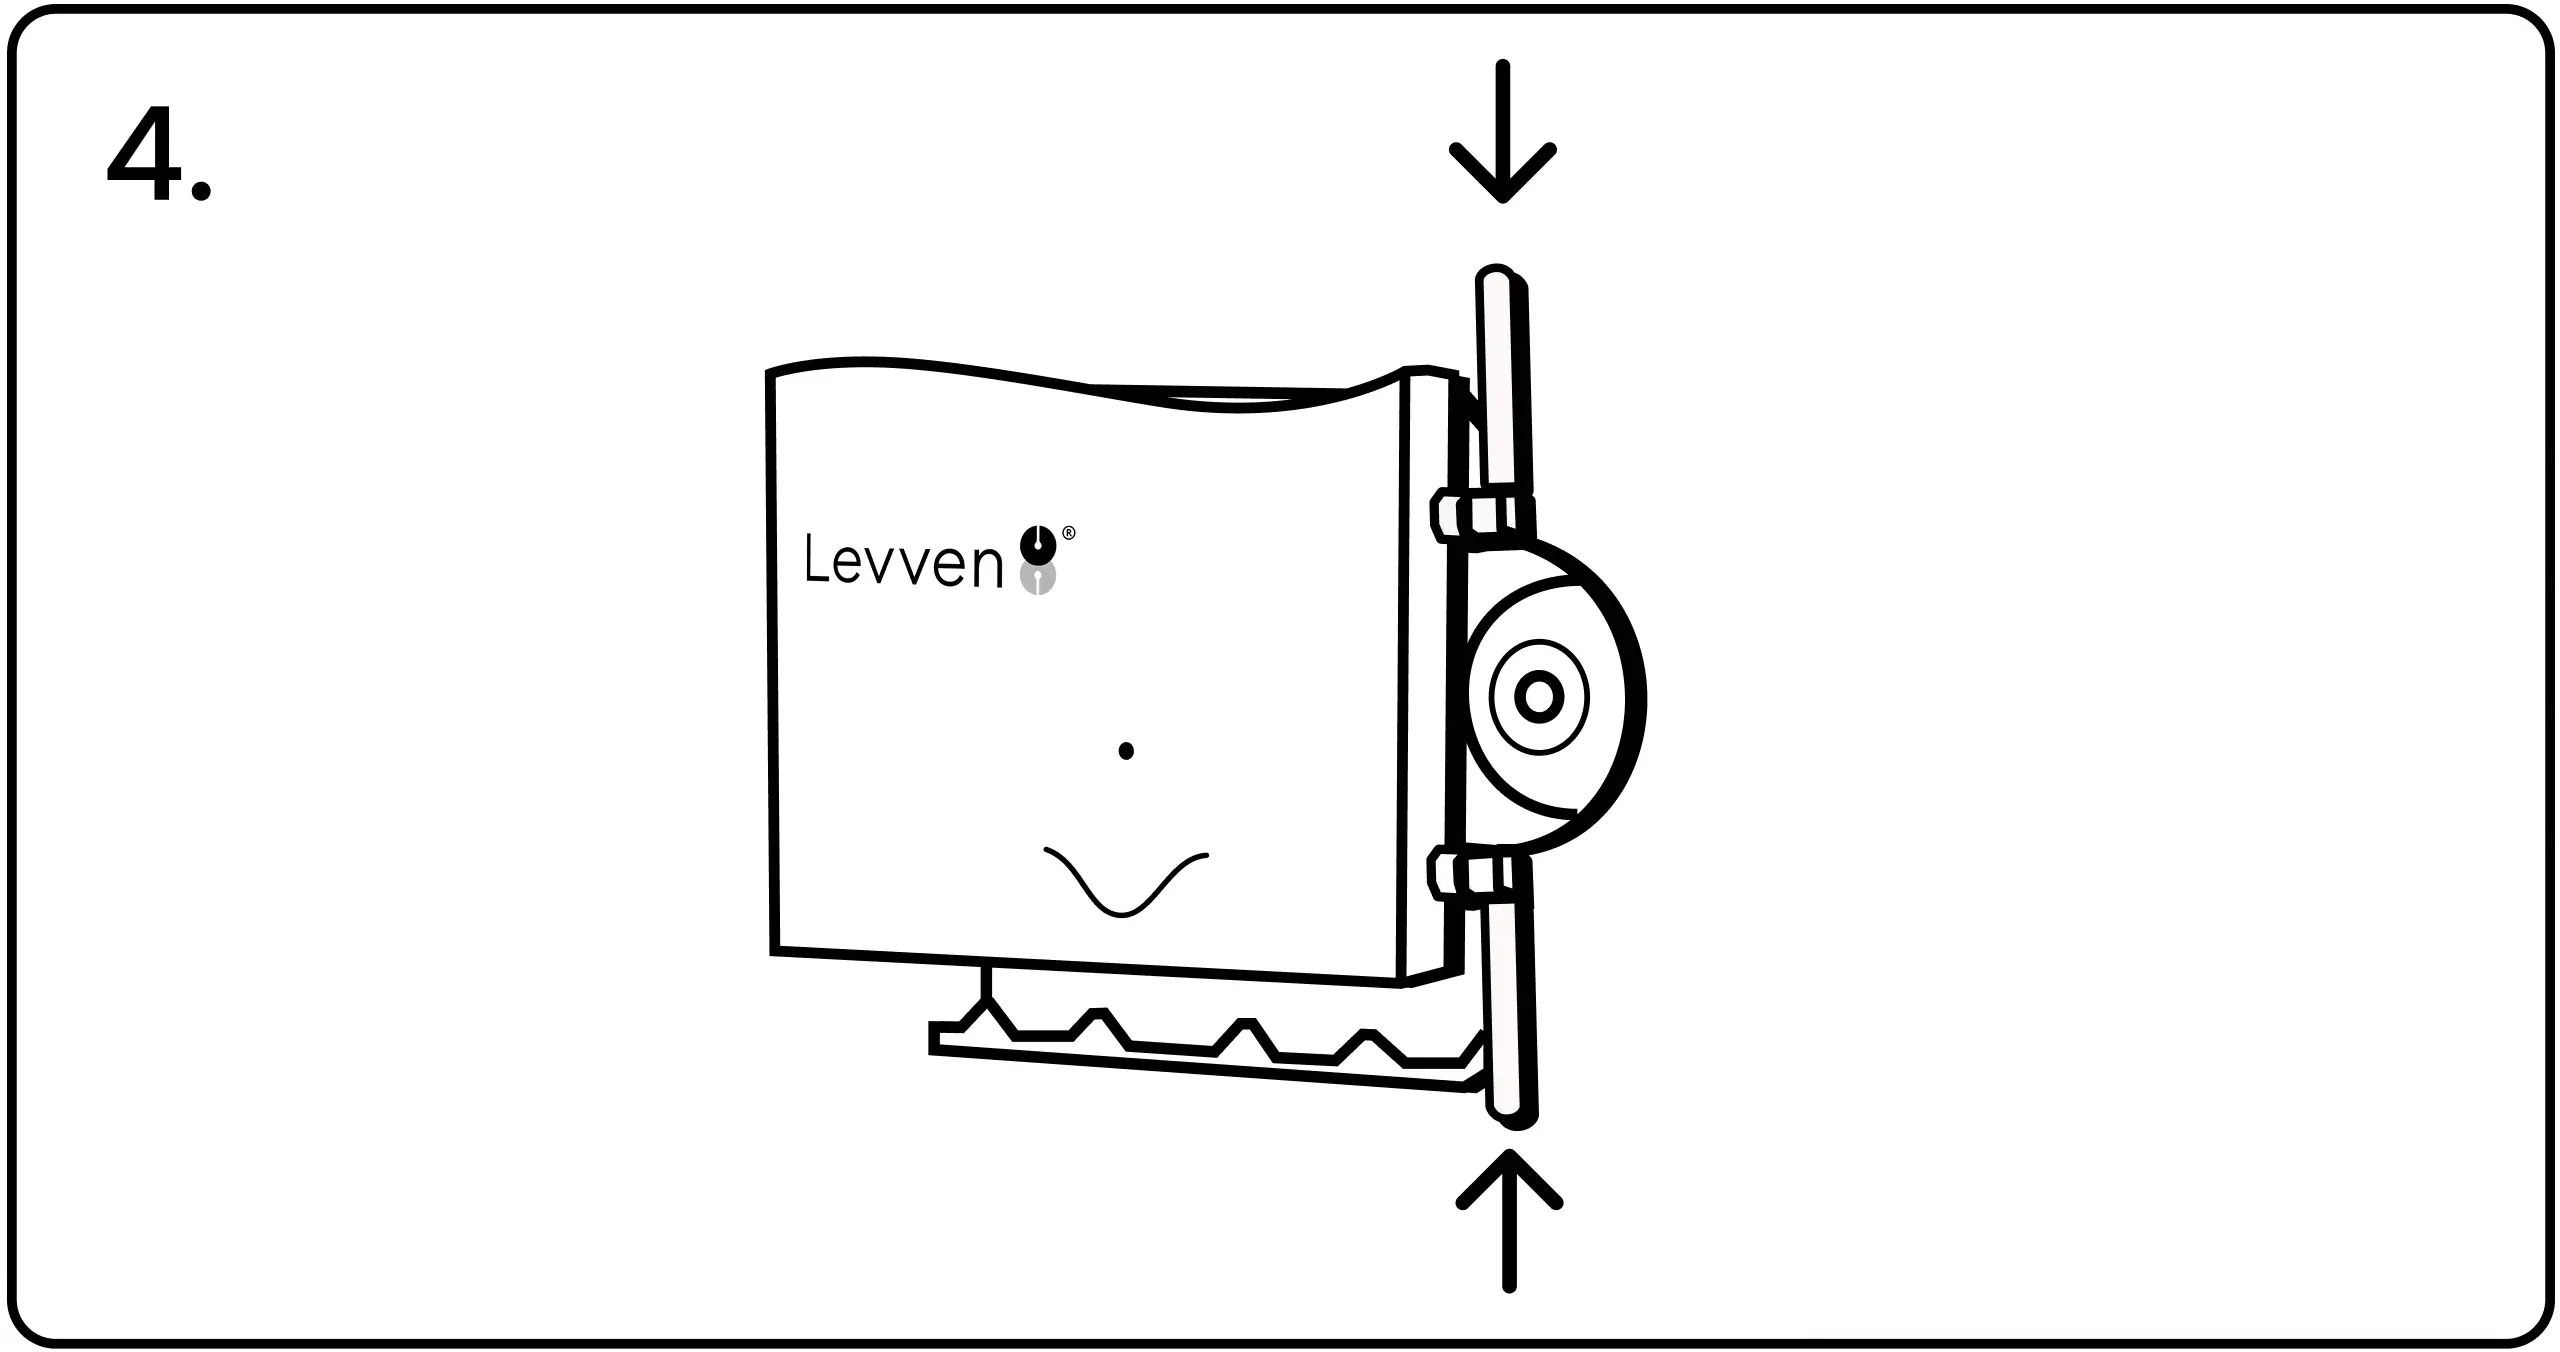
4. Después de montar el Q Gateway, ajuste la antena superior para que apunte hacia arriba y la antena inferior para que apunte hacia abajo. Asegúrese de que haya suficiente espacio para instalar el tornillo de seguridad en el lado derecho del soporte de montaje.
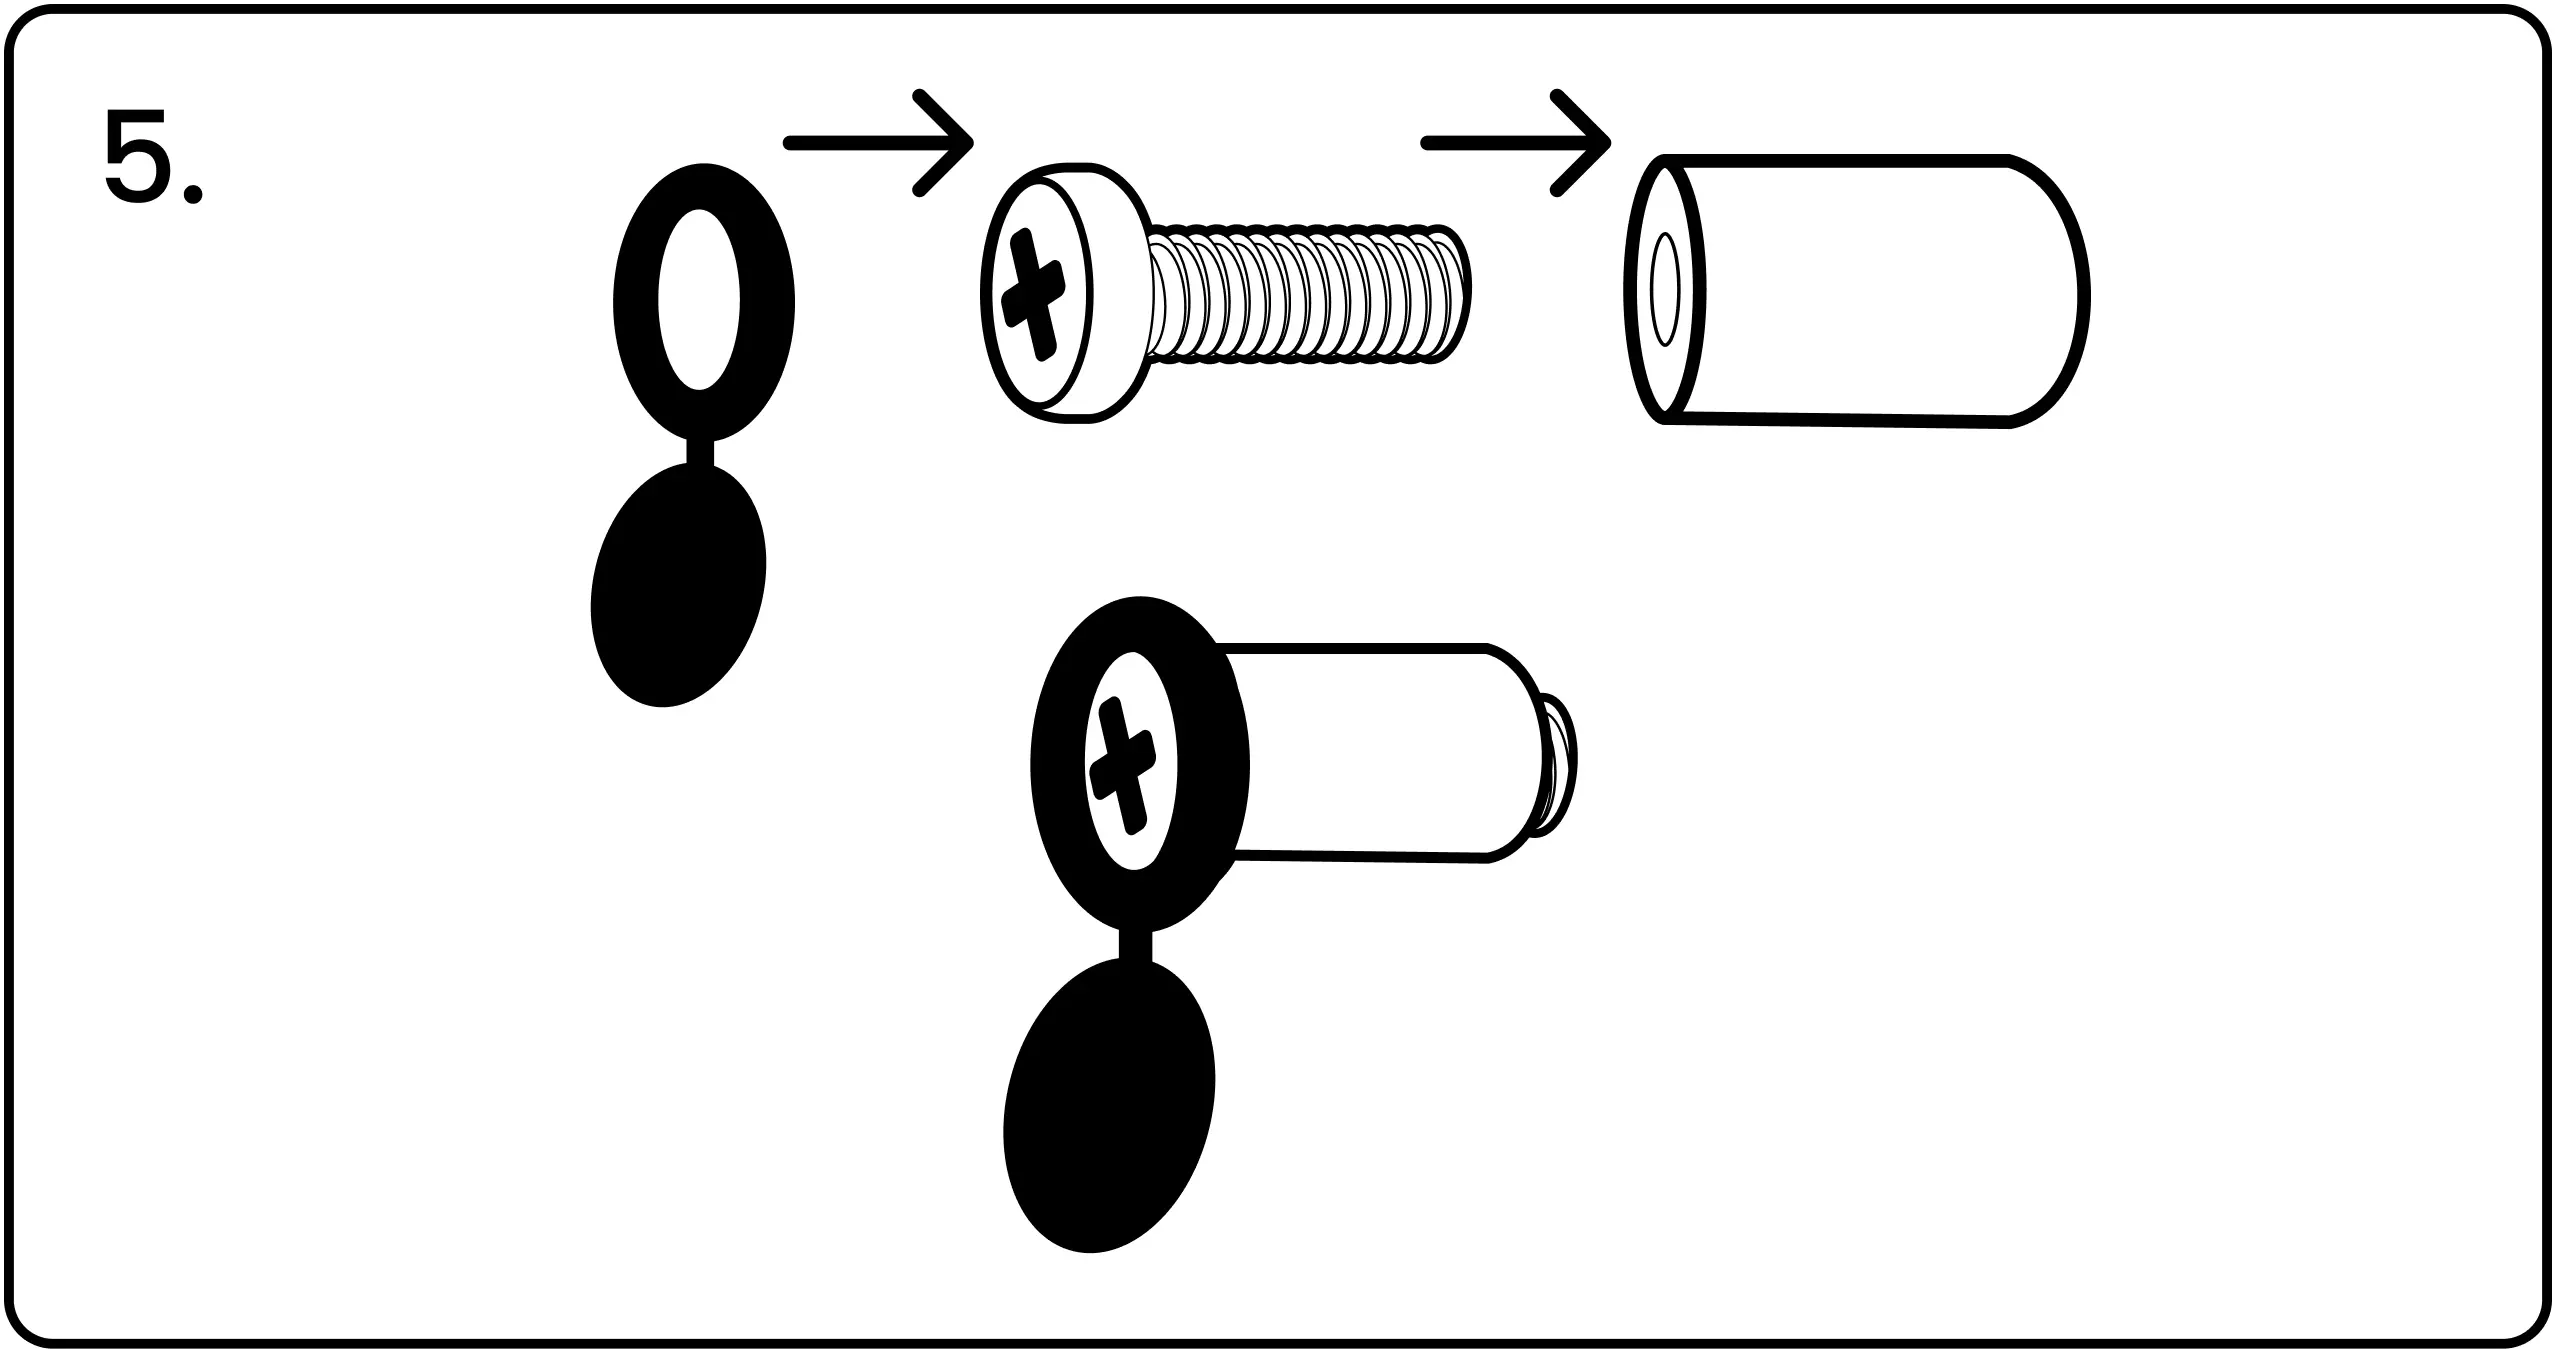
5. Recoja el tornillo, la tapa y el poste del Kit Rápido. Ensamble las piezas como se muestra aquí.
6. Atornille el conjunto tapa/tornillo/poste en el soporte de montaje.

7. Cierre la tapa sobre el extremo del tornillo para finalizar.

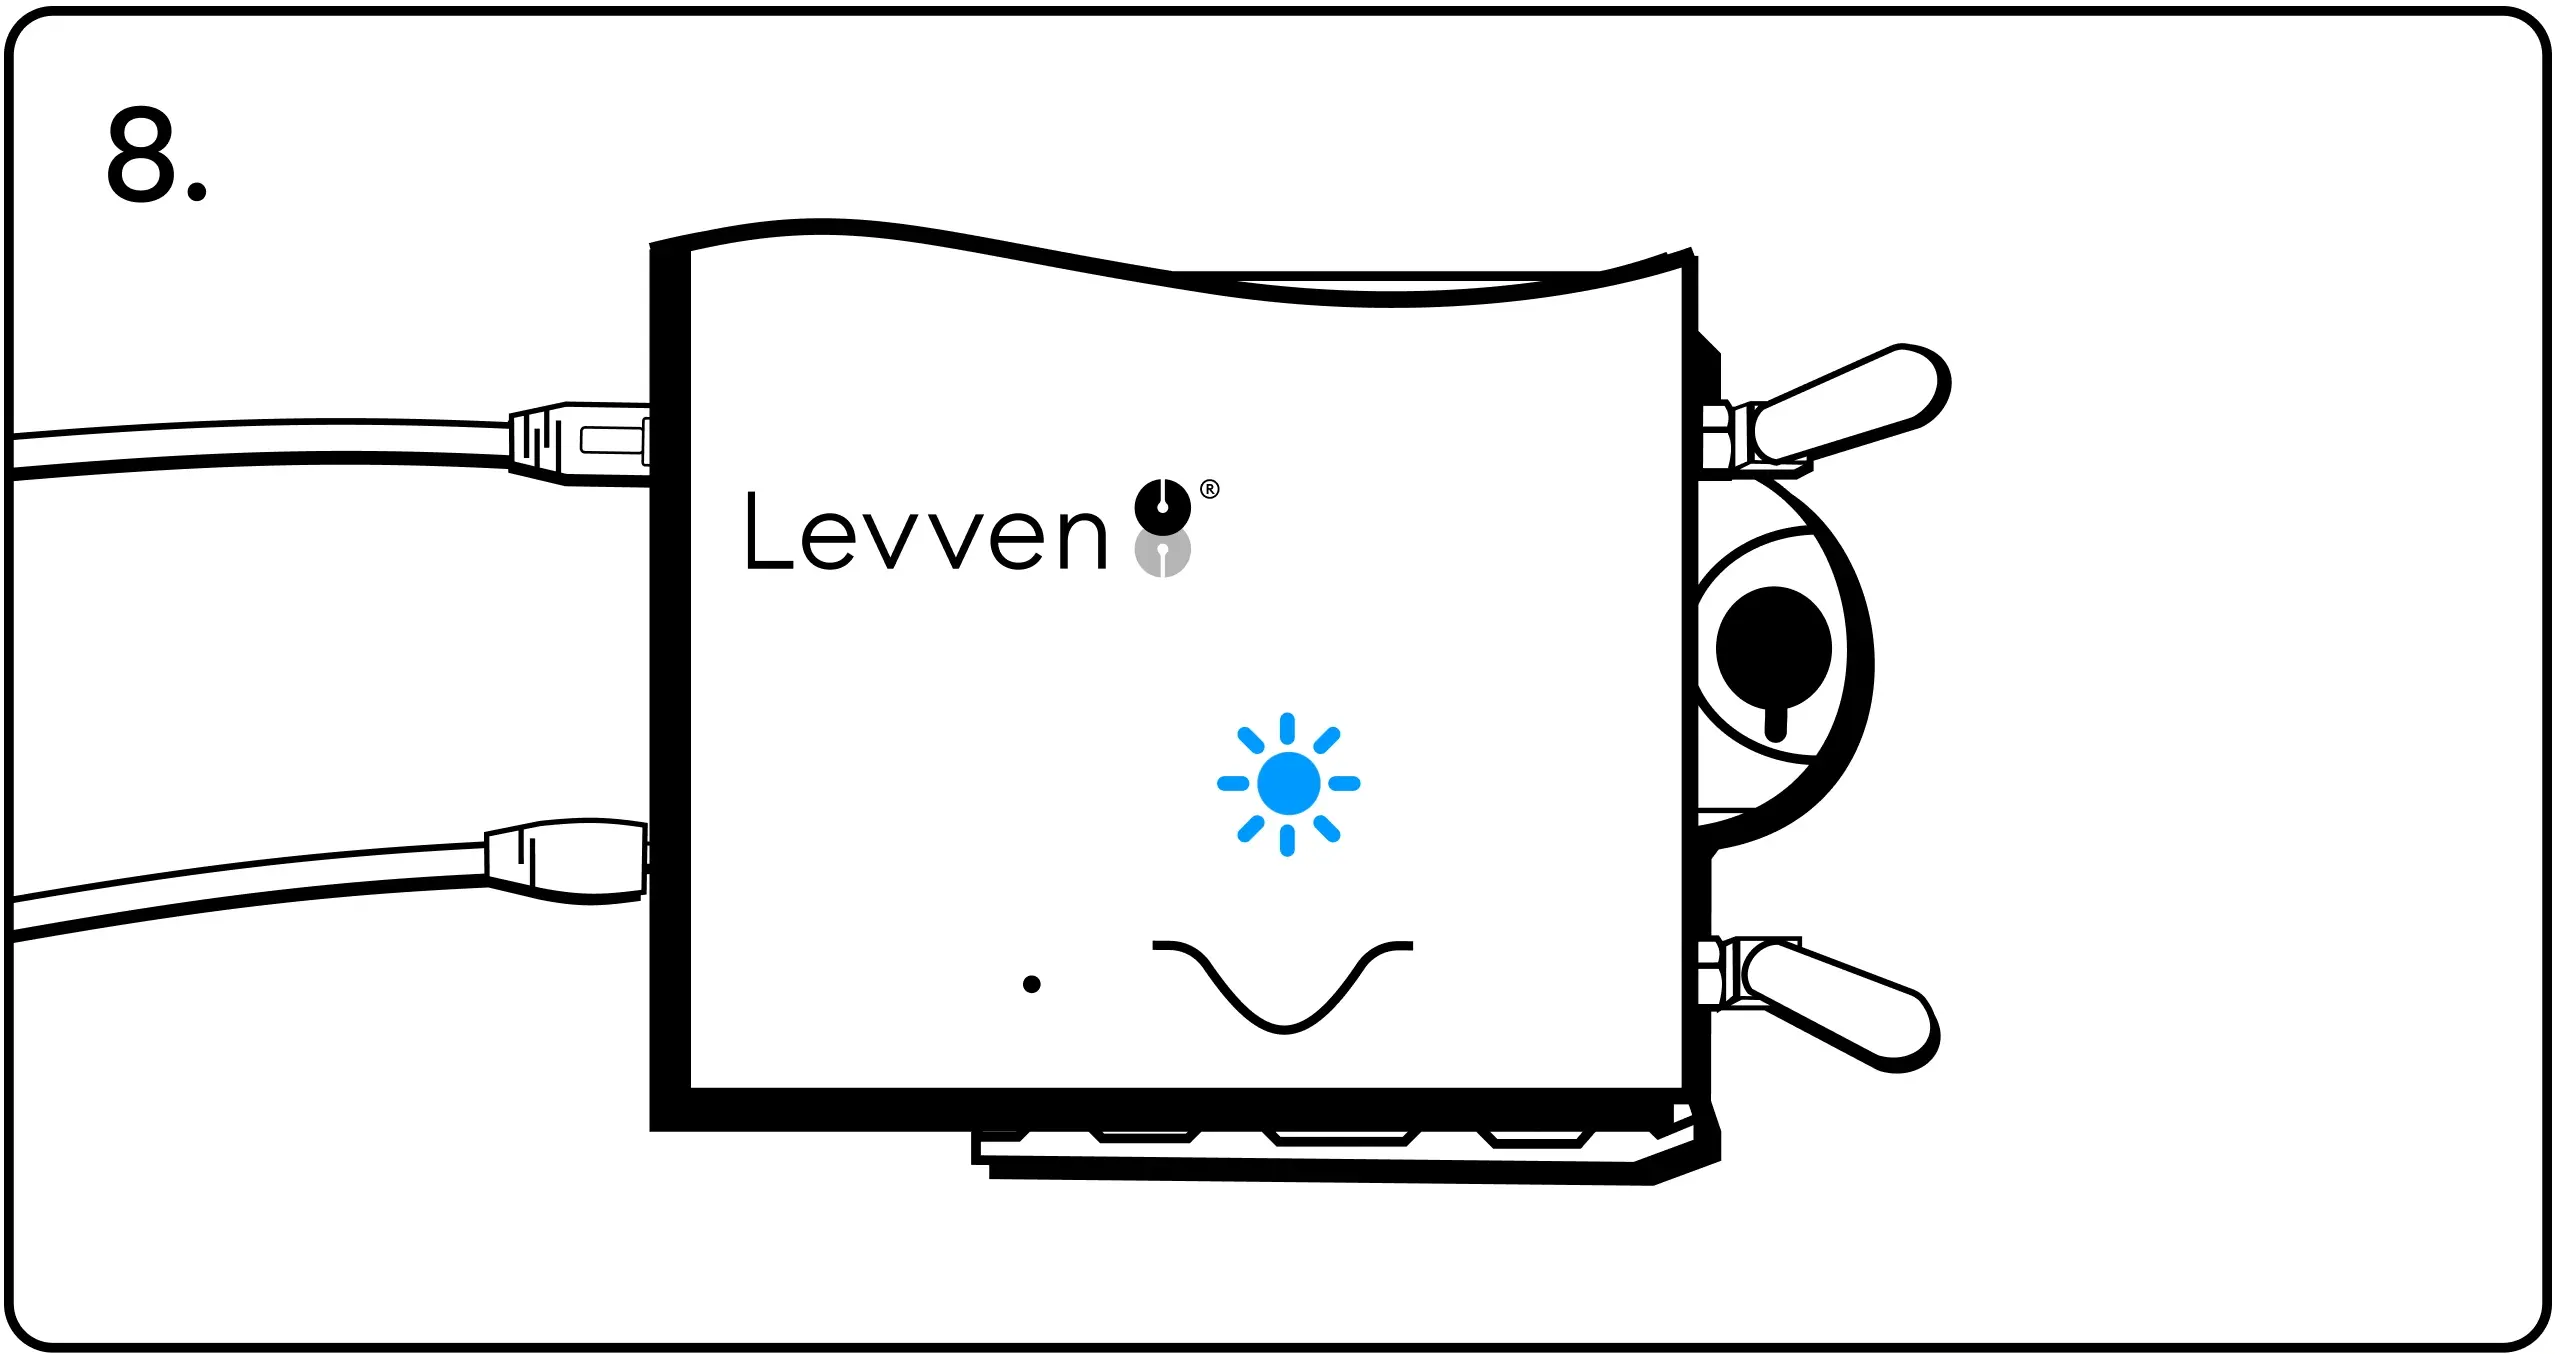
8. Conecte el adaptador de corriente y el cable de red al Levven Q para completar la instalación. Cuando está encendido, el LED del Q Gateway parpadeará en azul, lo que indica que está detectando los dispositivos instalados en el hogar.
Conecte el Q Gateway a la corriente
Conecte el cable de alimentación a la entrada de alimentación del Q Gateway. Conecte el otro extremo a la toma de corriente.
Cómo agregar el Levven Q Gateway al grupo del hogar
Antes de que el Levven Q Gateway pueda comunicarse con los switches y controladores de la casa, primero debe agregarse al grupo de controladores igual que el resto de los controladores. Una vez conectado al router Wi-Fi del hogar, el Levven Q Gateway permite que la aplicación móvil Levven Controls detecte y se comunique con todos los switches y controladores instalados en la casa.
Este video muestra los pasos para agregar el Q Gateway al grupo de controladores:
Retire el tornillo de seguridad
Con un destornillador, desenrosque el tornillo de seguridad del soporte de montaje. Guarde o deseche el tornillo según el protocolo del constructor.
Cuando se retira el tornillo, el comprador puede quitar el Q Gateway del soporte de montaje y acceder a la parte posterior del dispositivo.
Revise la instalación
Felicidades por completar una instalación eléctrica con los Levven Controls. Confirme que se hayan realizado estos pasos:
Planos Electricos Kit rápido Levven Instalación de controladores Instalando Interruptores Placa de pared azul