Levven Q Gateway
The Levven Q is a network gateway that connects the homeowner's mobile device to the Levven devices in the home.
Homeowners that install the Levven Controls mobile app on their phone or tablet can connect to their Levven Q and access their switches and controllers.
When connected to a Levven Q gateway, a user can:
- Turn devices on and off
- Dim the lights
- Personalize power controllers and switches by setting up rooms, entering device names, and creating smart home automations (such as timers)
- Connect to Alexa and Google's voice assistant services
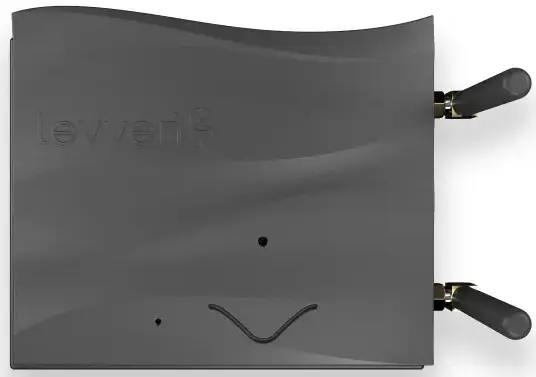
Q Gateway Mounting Bracket
The mounting bracket secures the Levven Q network gateway while the house is still under construction. When turning the house over to the homebuyer, the builder superintendent removes the security screw. The homebuyer can then access and set up their Levven Q gateway.
Install the Mounting Bracket
To install the mounting bracket:
- Unpack the mounting bracket and the supporting hardware from the Quick Kit.
- Install the mounting bracket on the wood side of the low-voltage cabinet OR on the wall where indicated in the electrical plan.
- For consistency, the bracket should be positioned with its bottom shelf towards the floor and the hole for the security screw on the right side of the bracket.
Install the Levven Q Gateway on the Mounting Bracket
After installing the mounting bracket in the location specified in the electrical plan, unpack the Levven Q and its cables from the Quick Kit and install it in the mounting bracket as demonstrated.
1. Secure the mounting bracket to a wall stud using two screws.
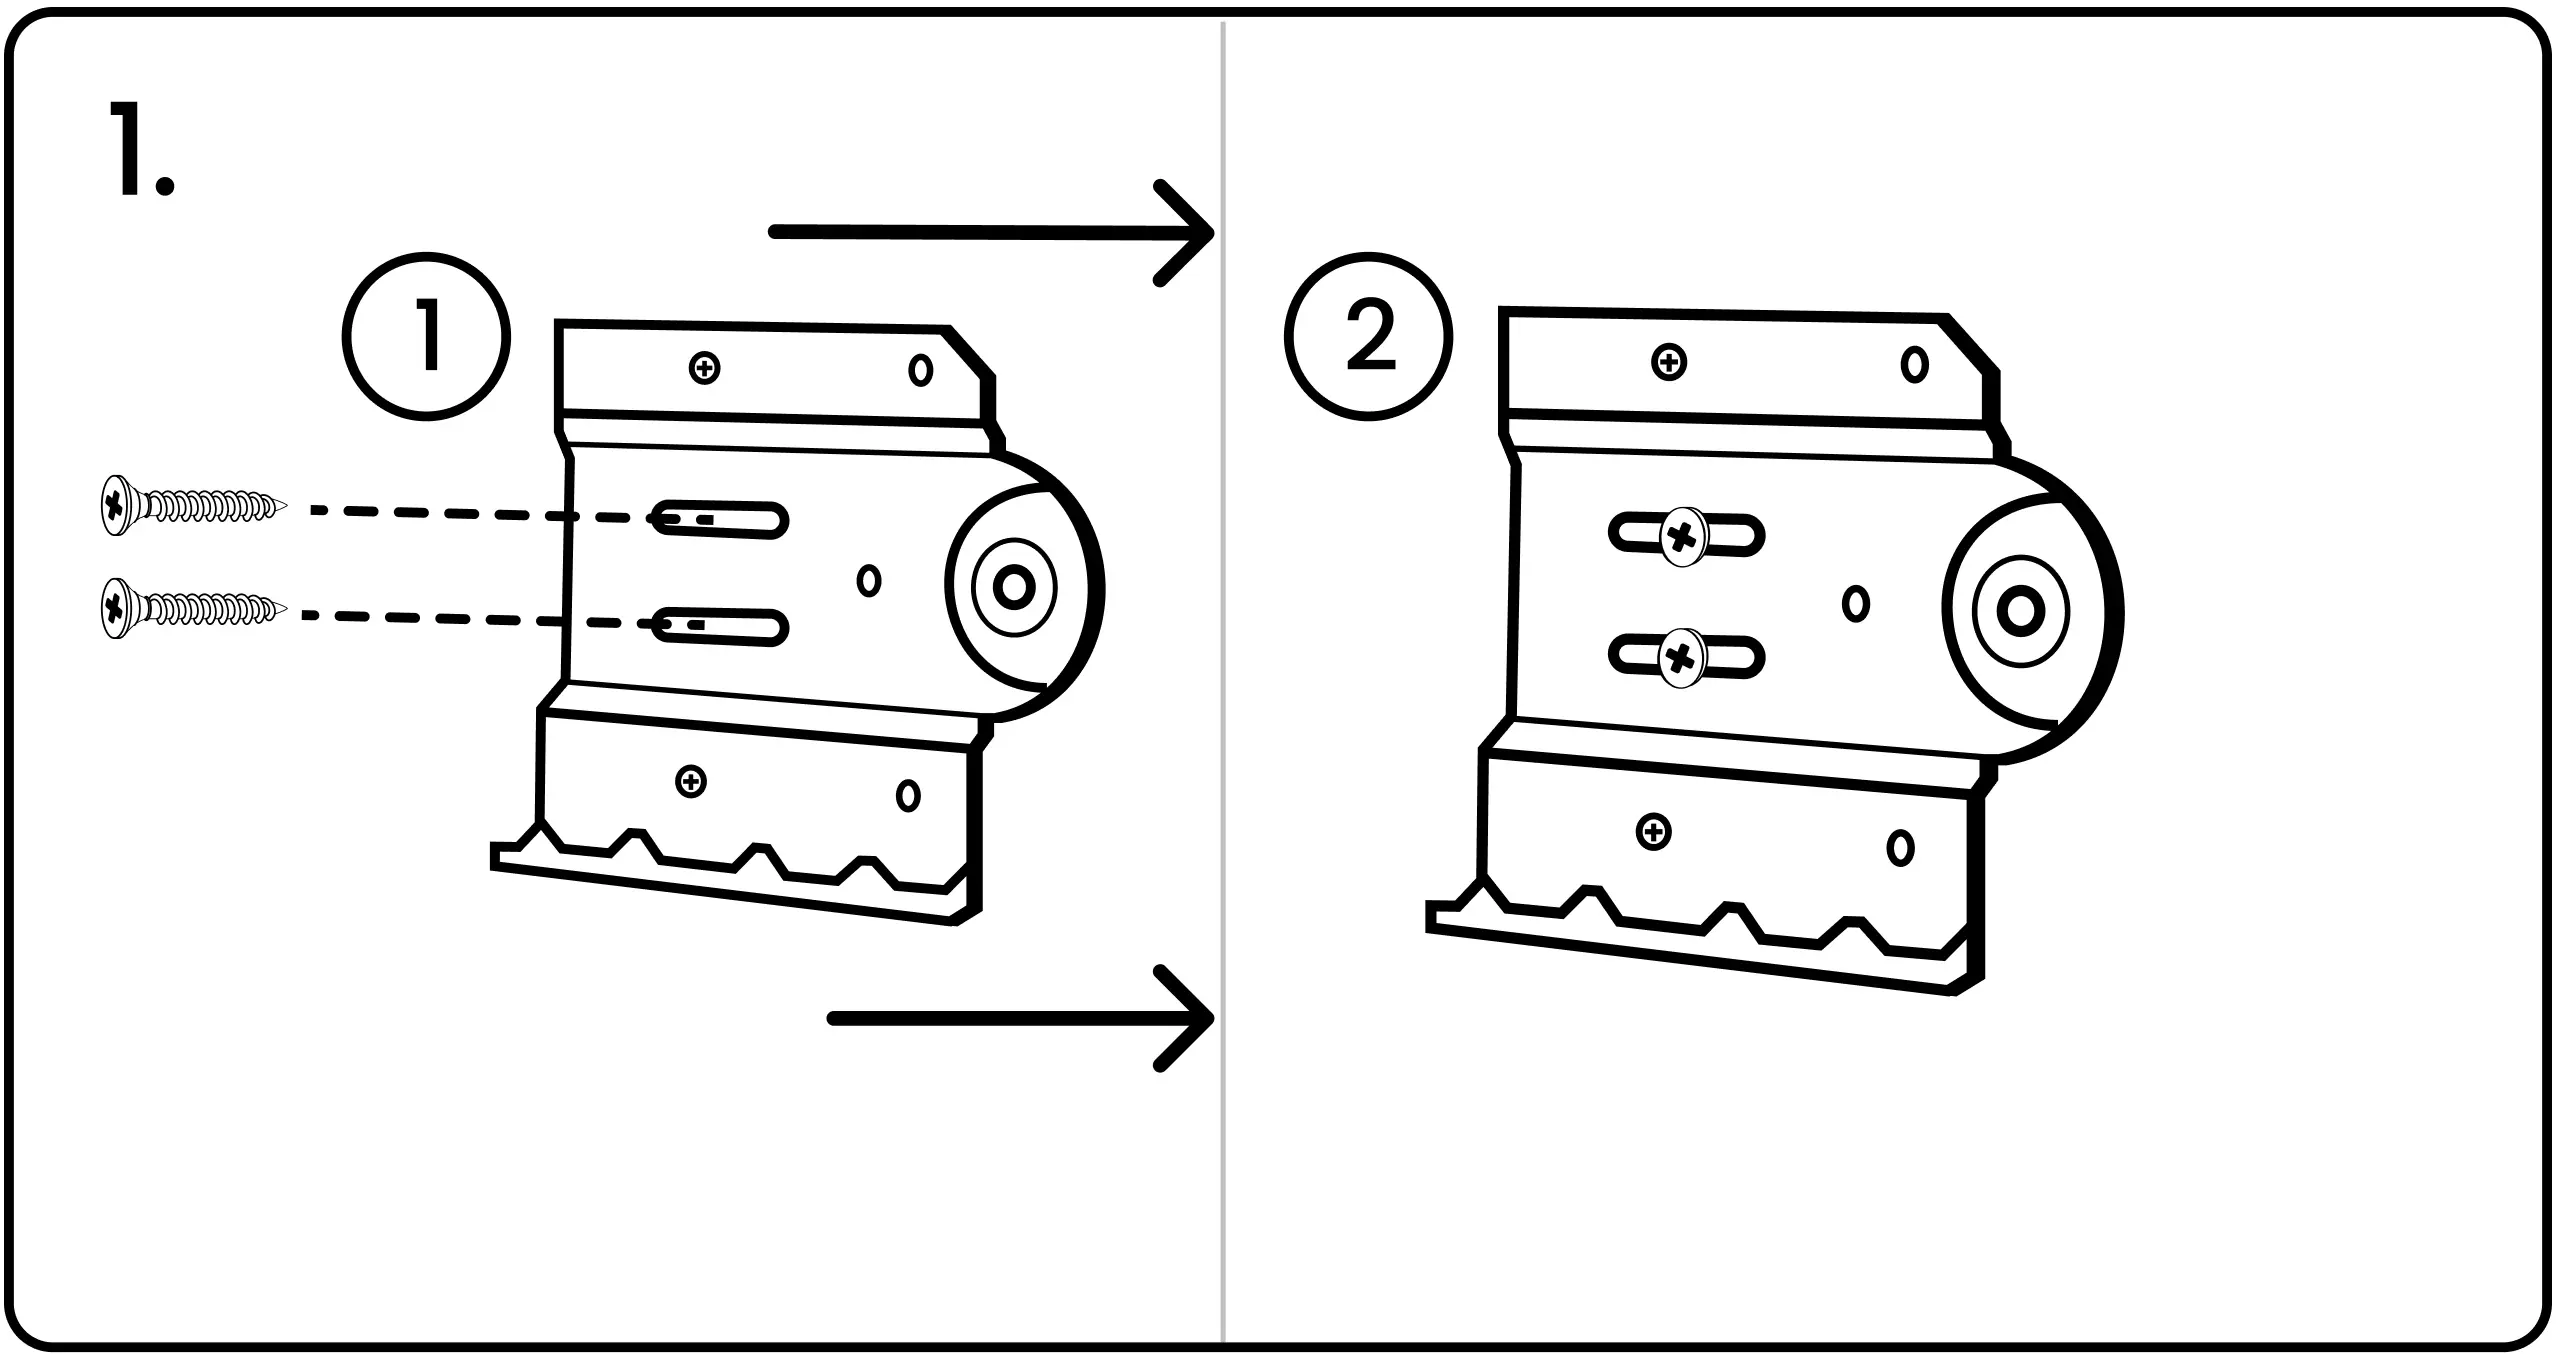
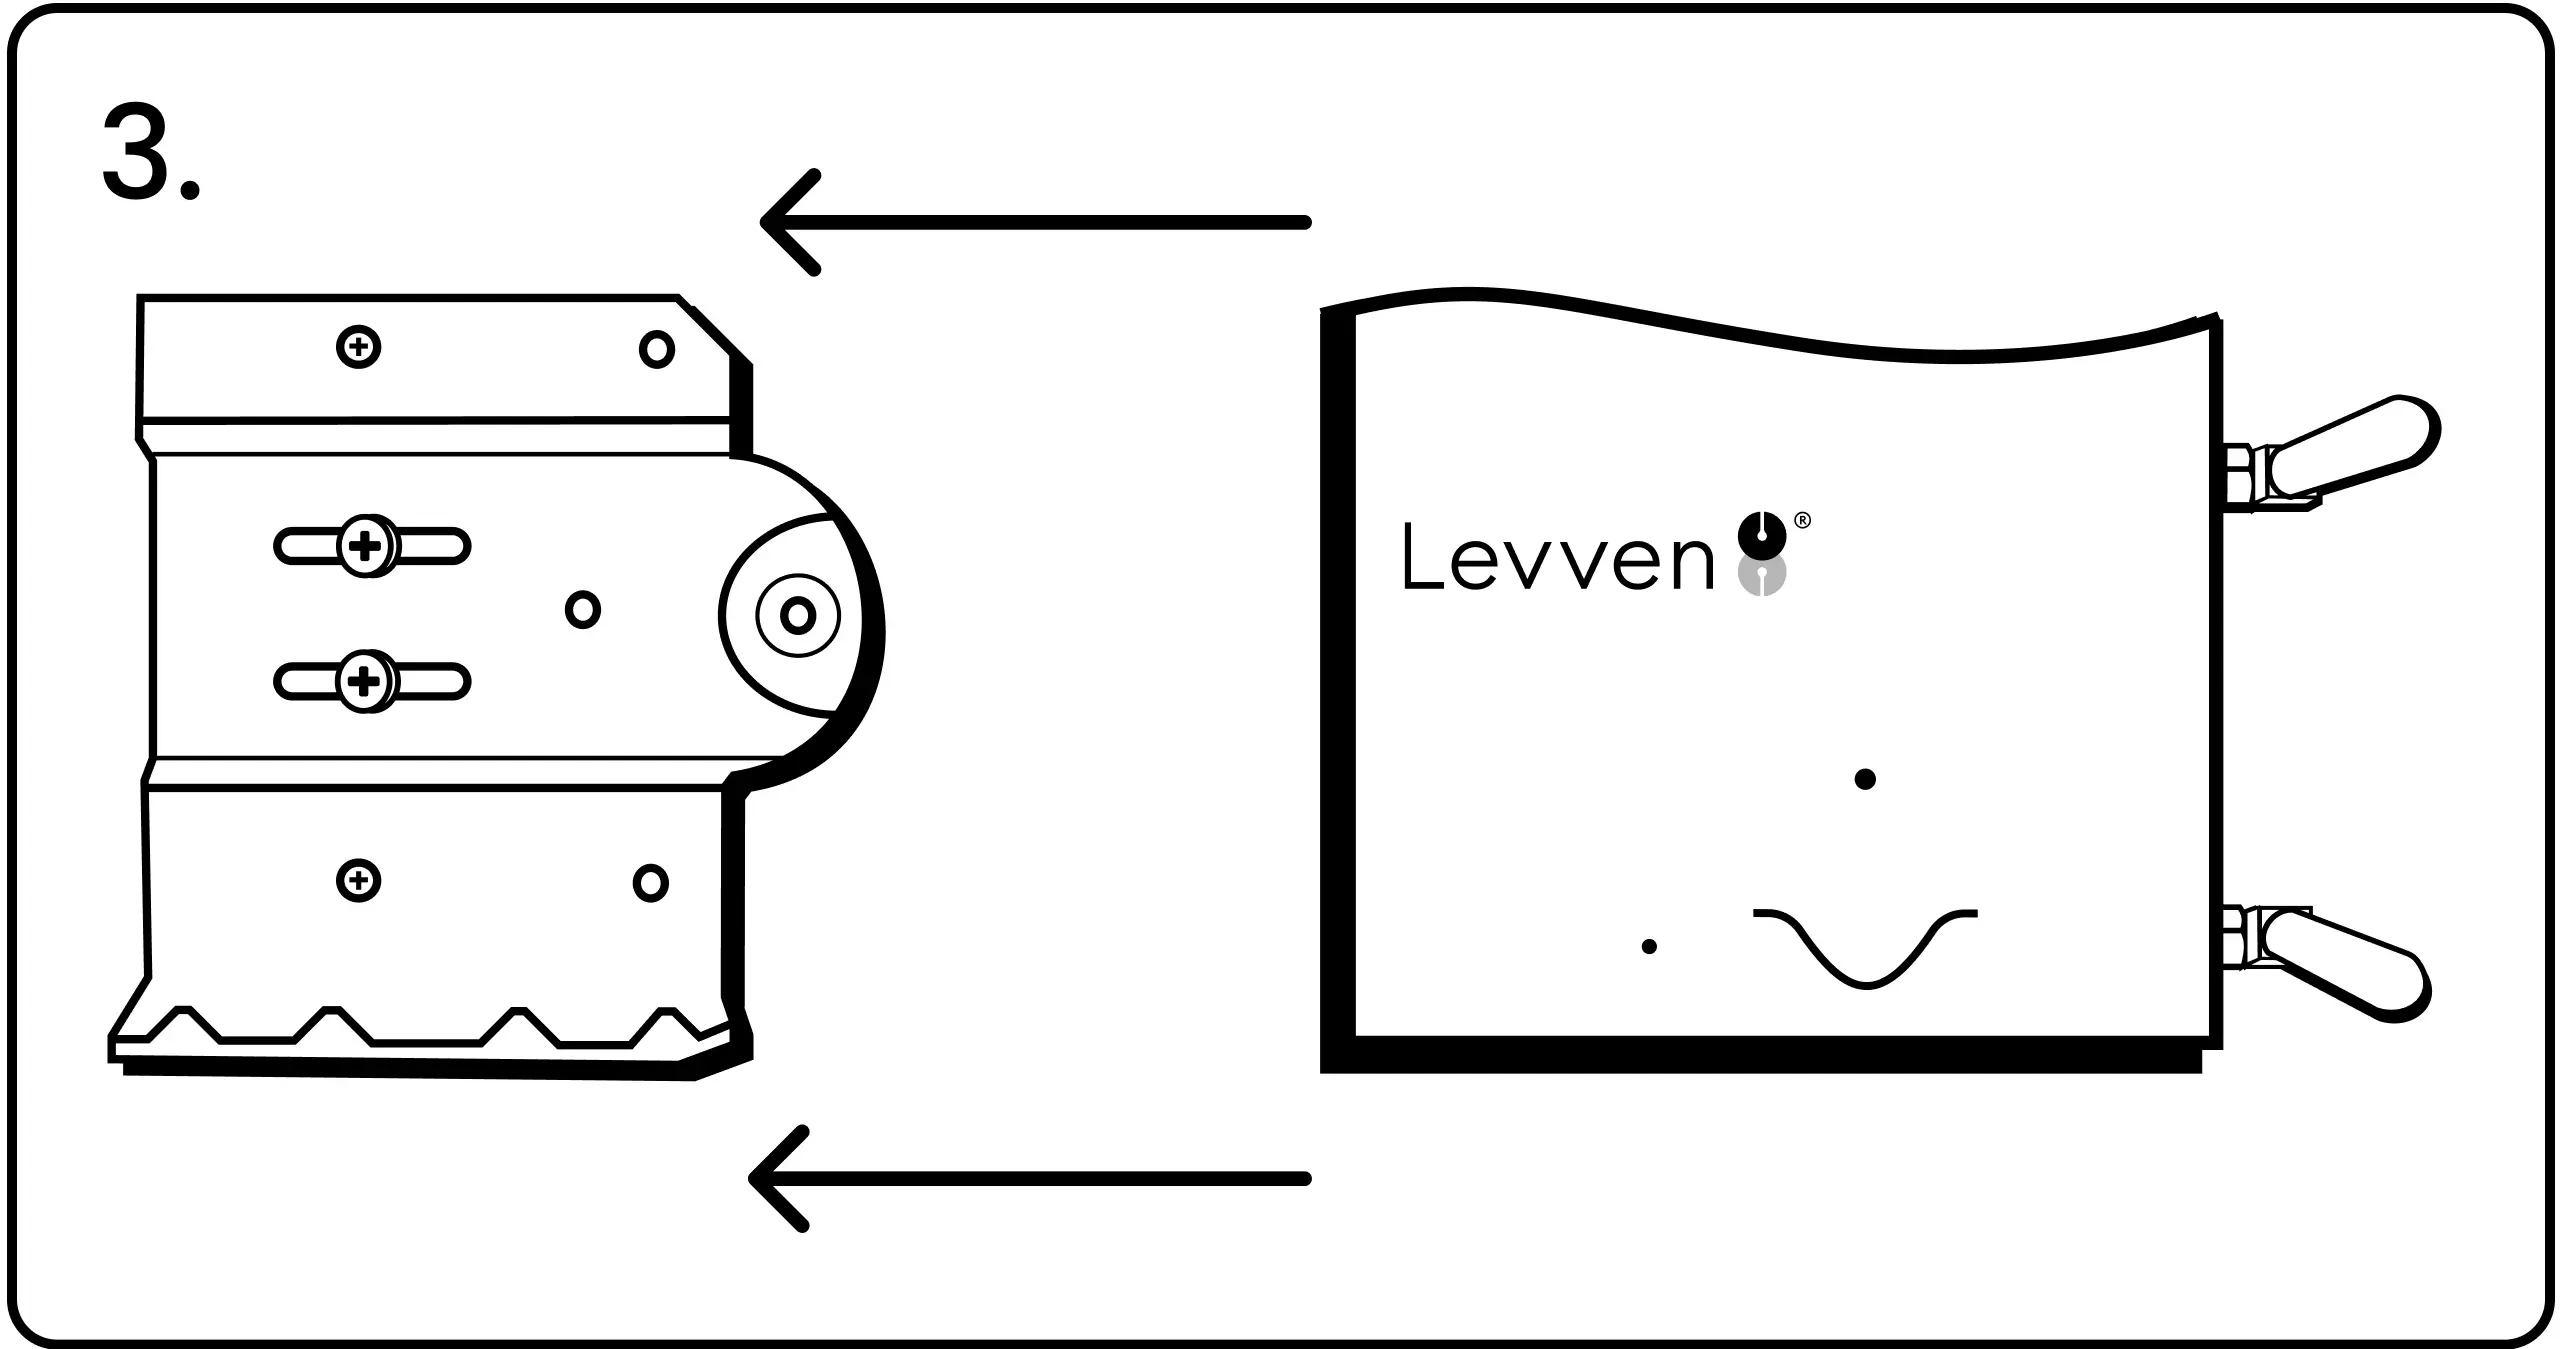
2. Align the slots on the Q Gateway with those on the mounting bracket.
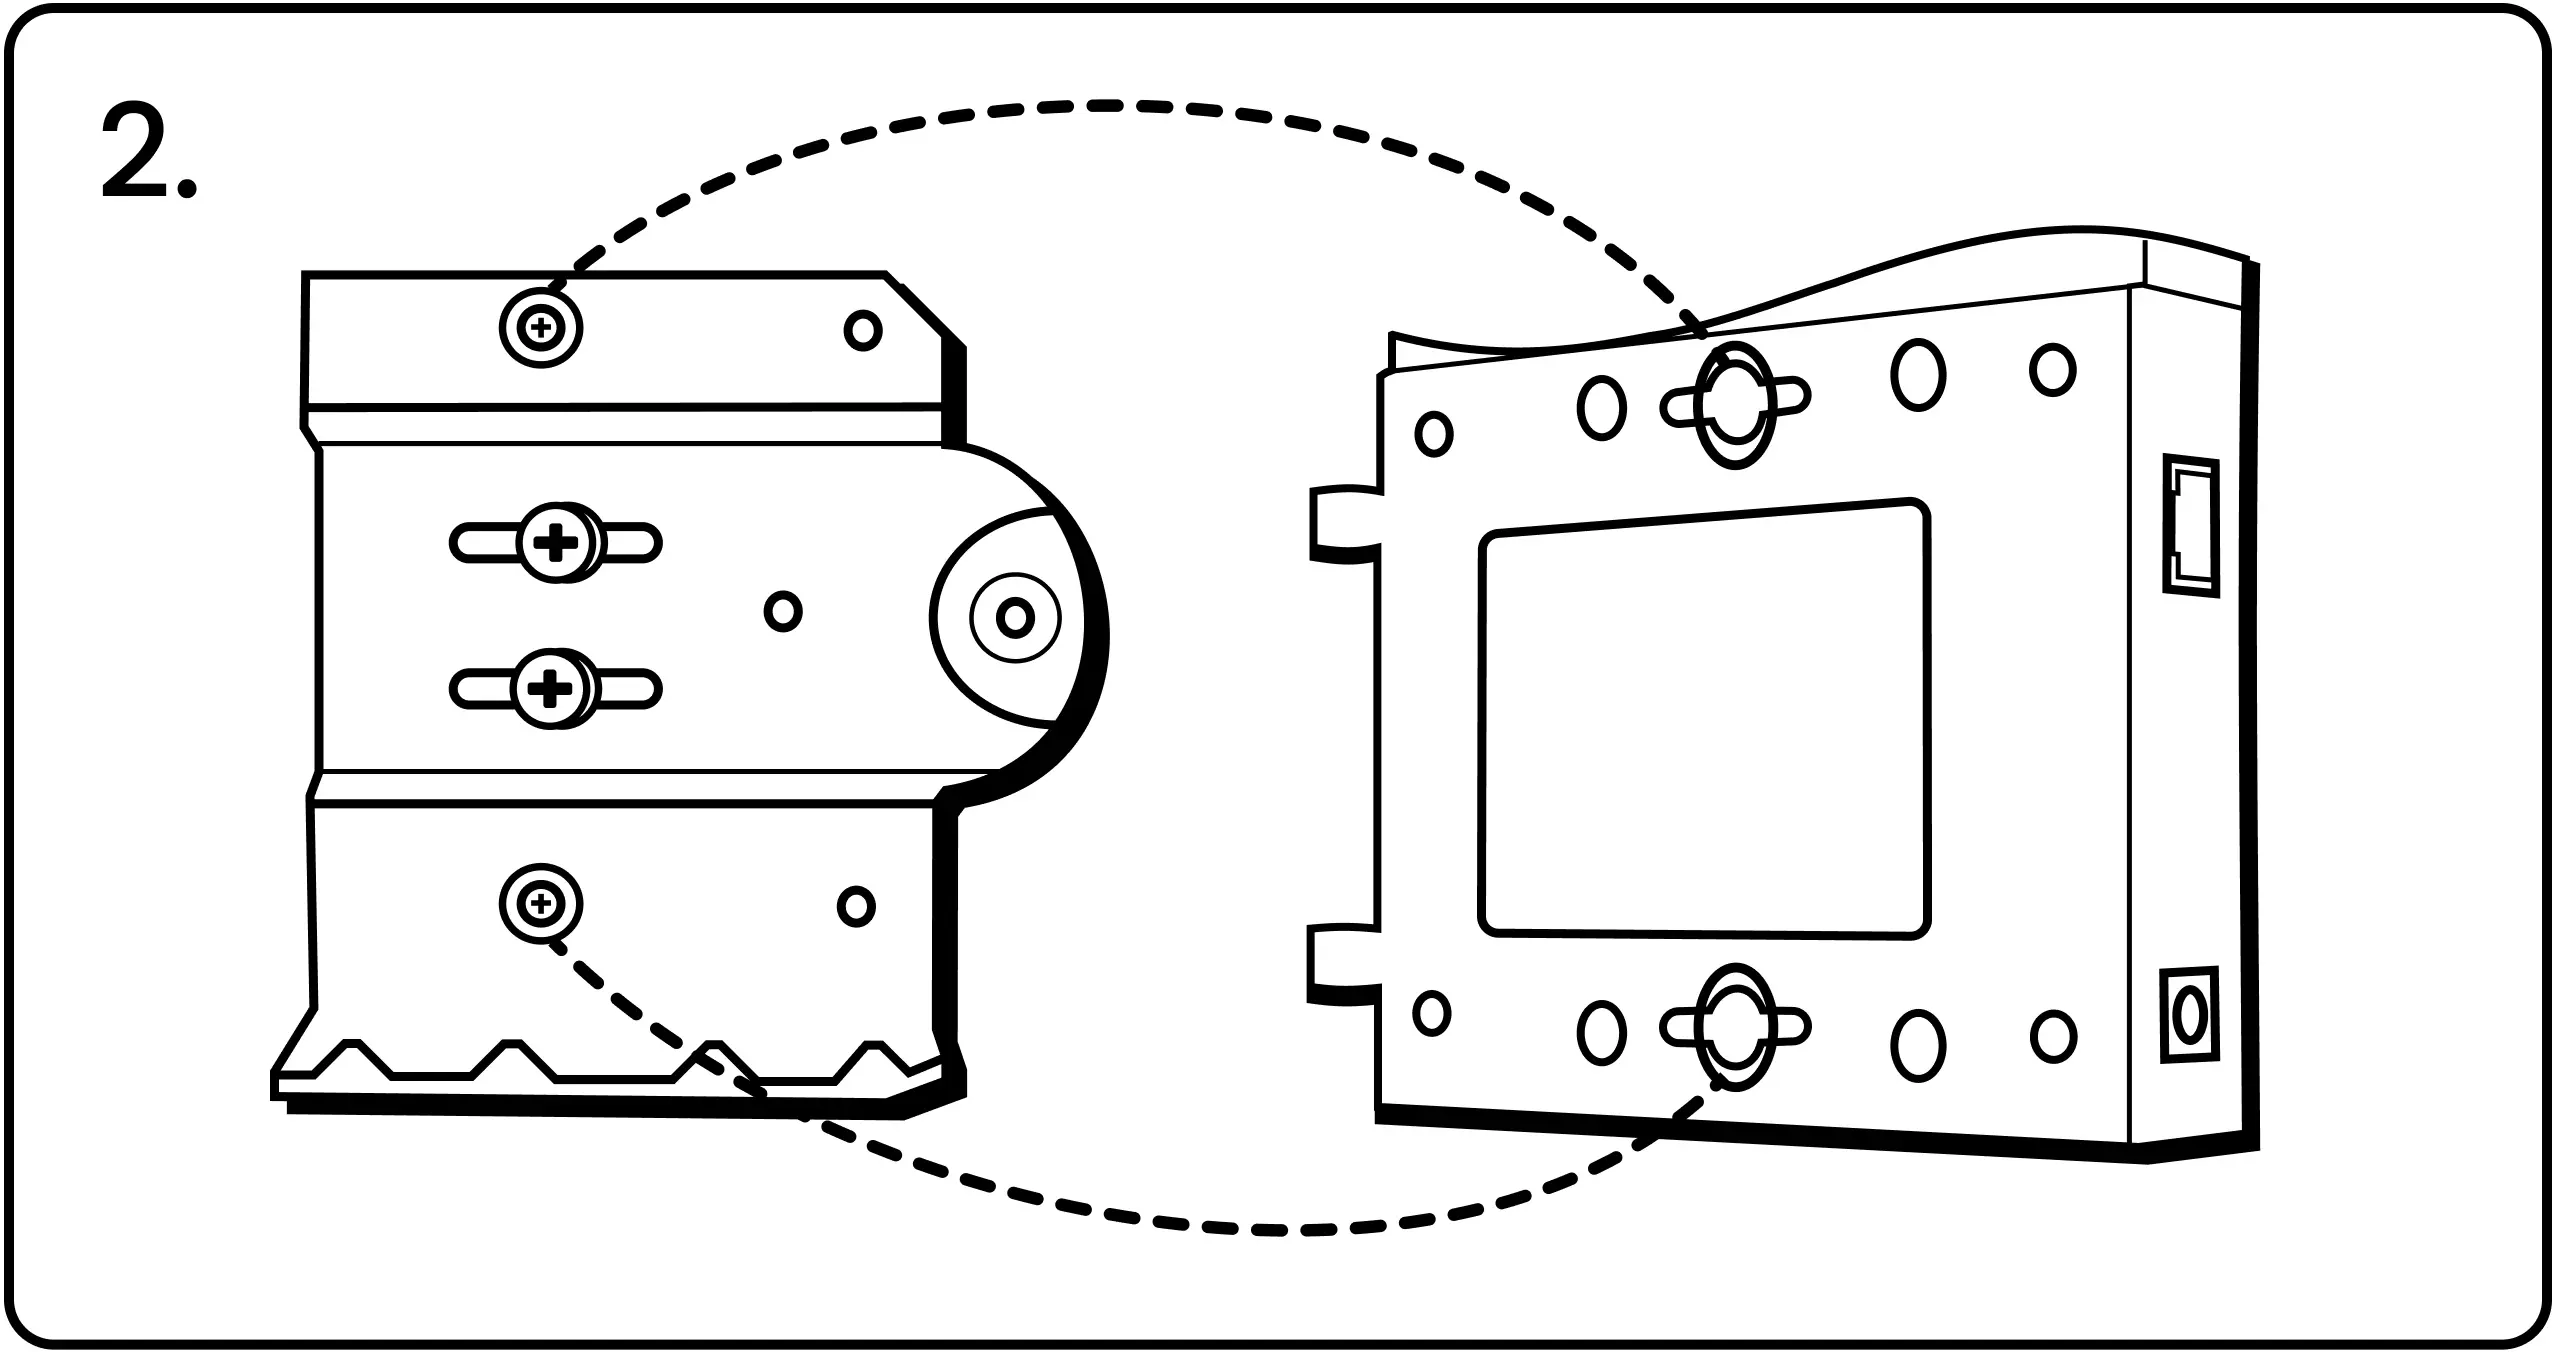
3. Slide the Q Gateway to the left onto the bracket.
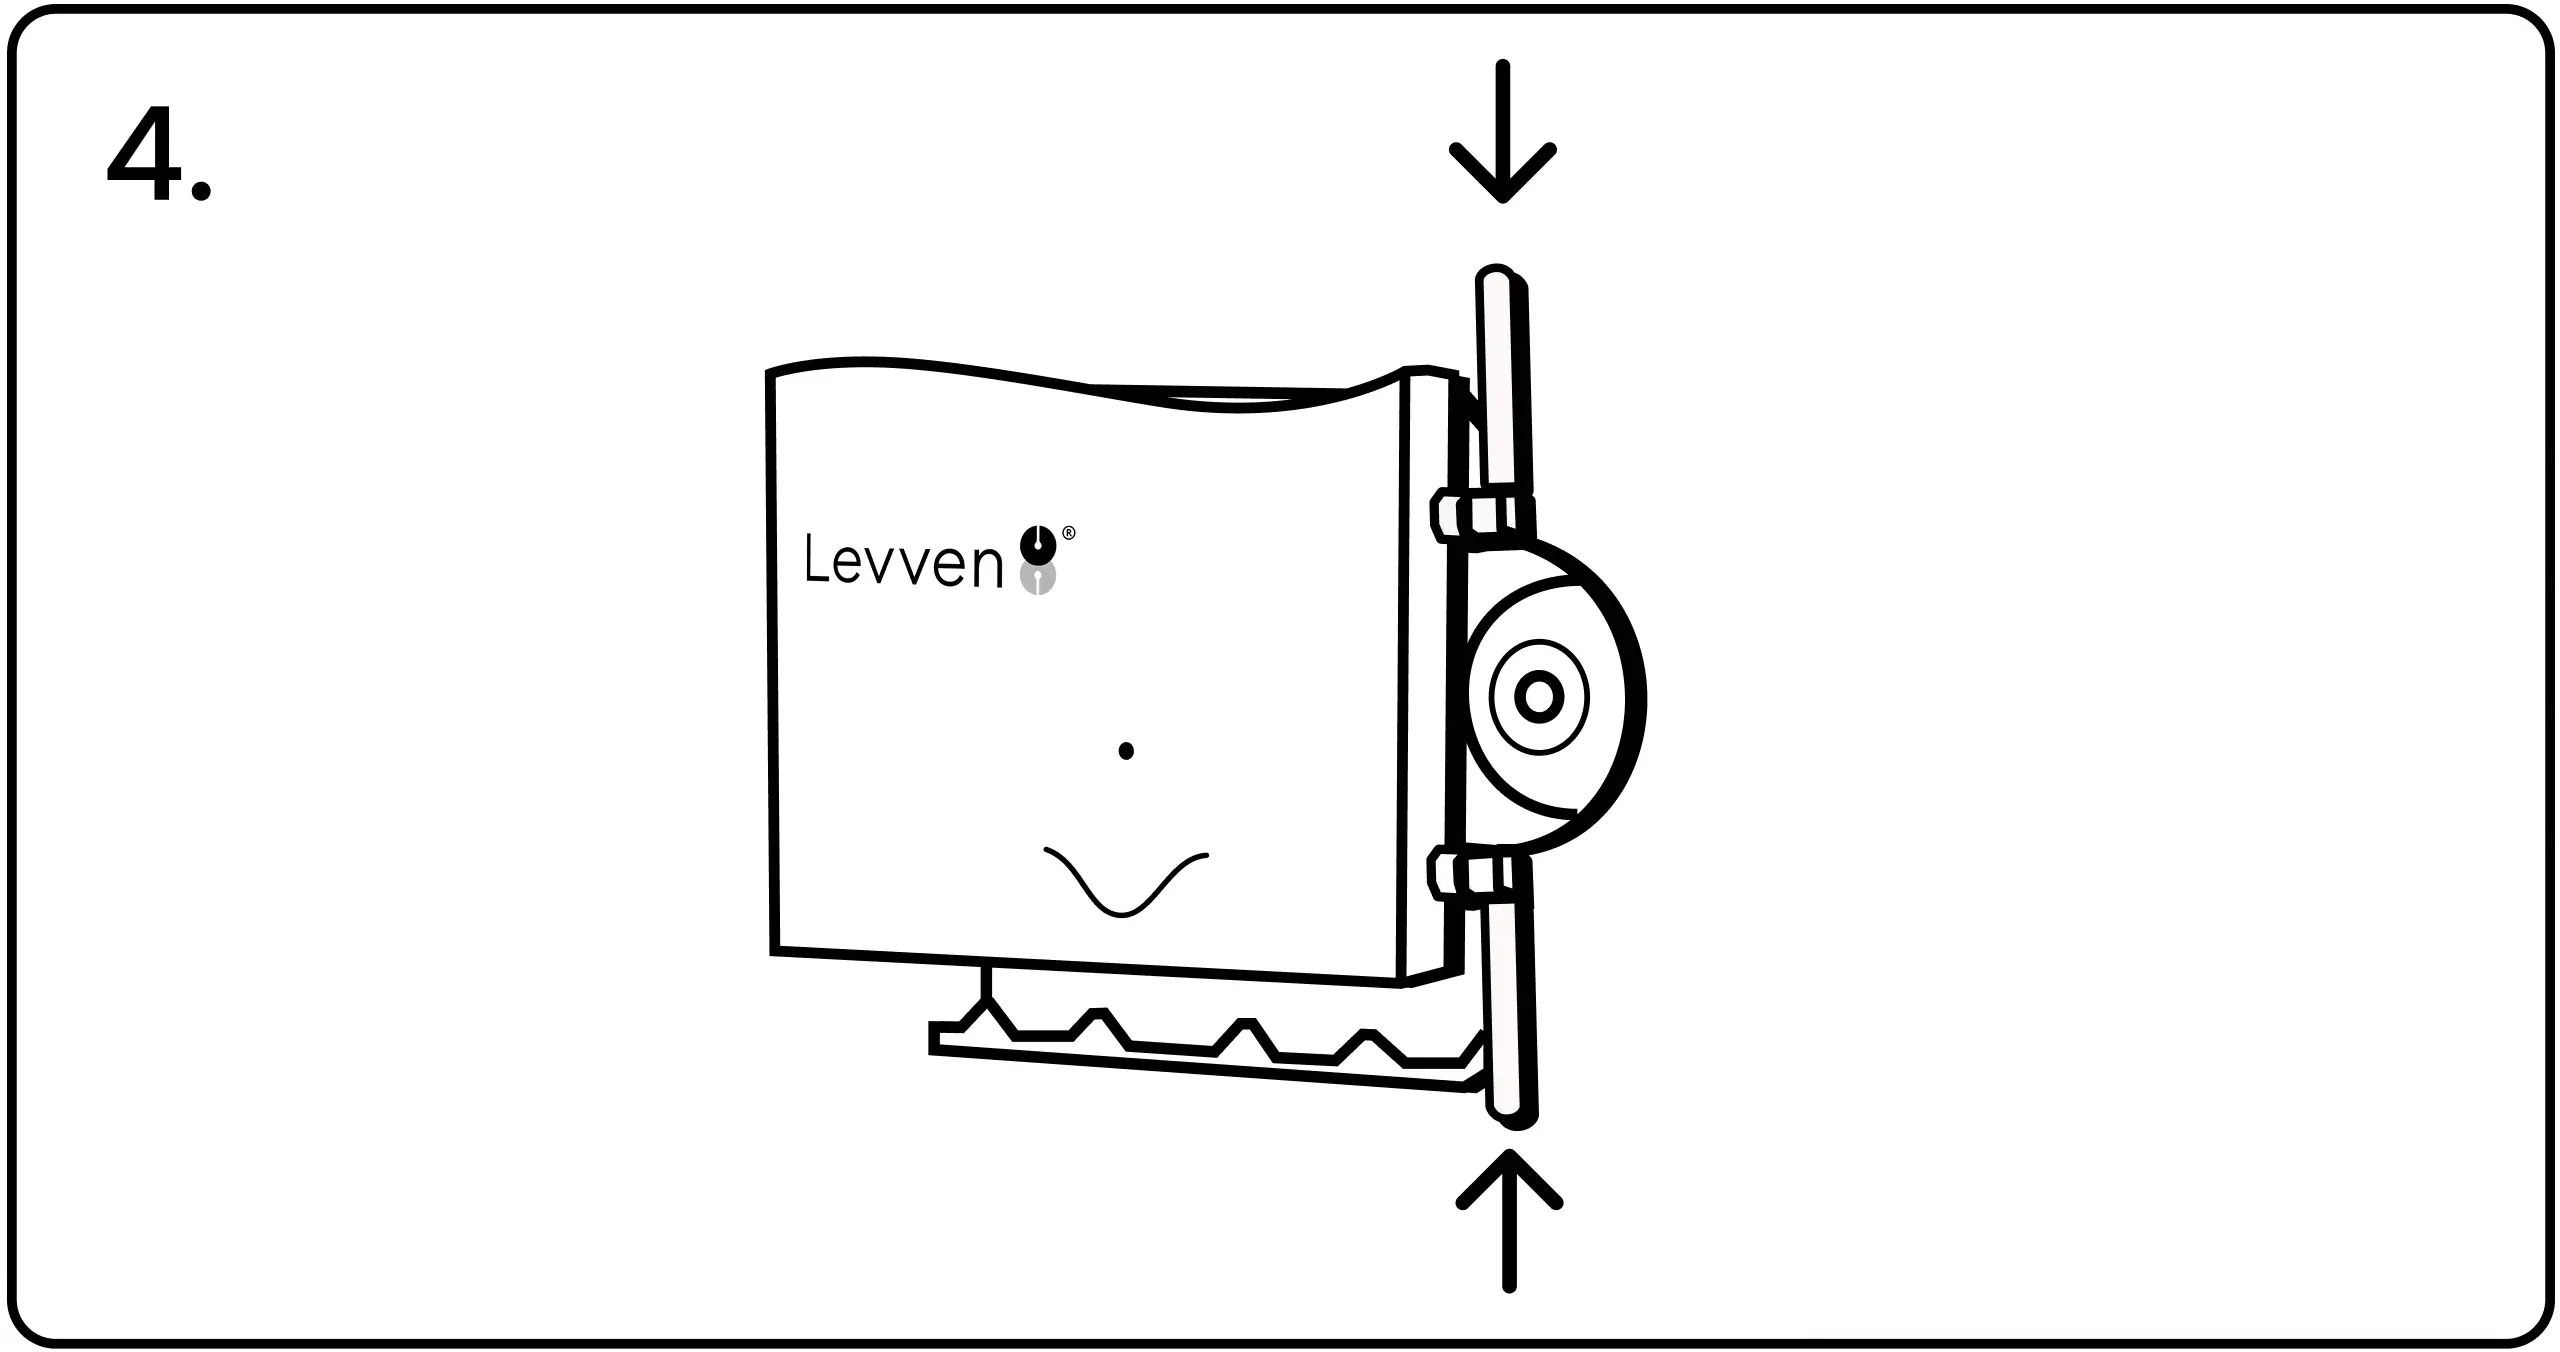
4. After mounting the Q Gateway, adjust the top antenna to point up and the bottom antenna to point down. Ensure there is enough space to install the security screw on the right side of the mounting bracket.
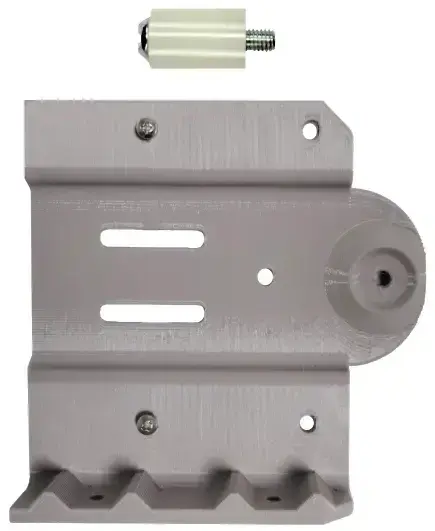
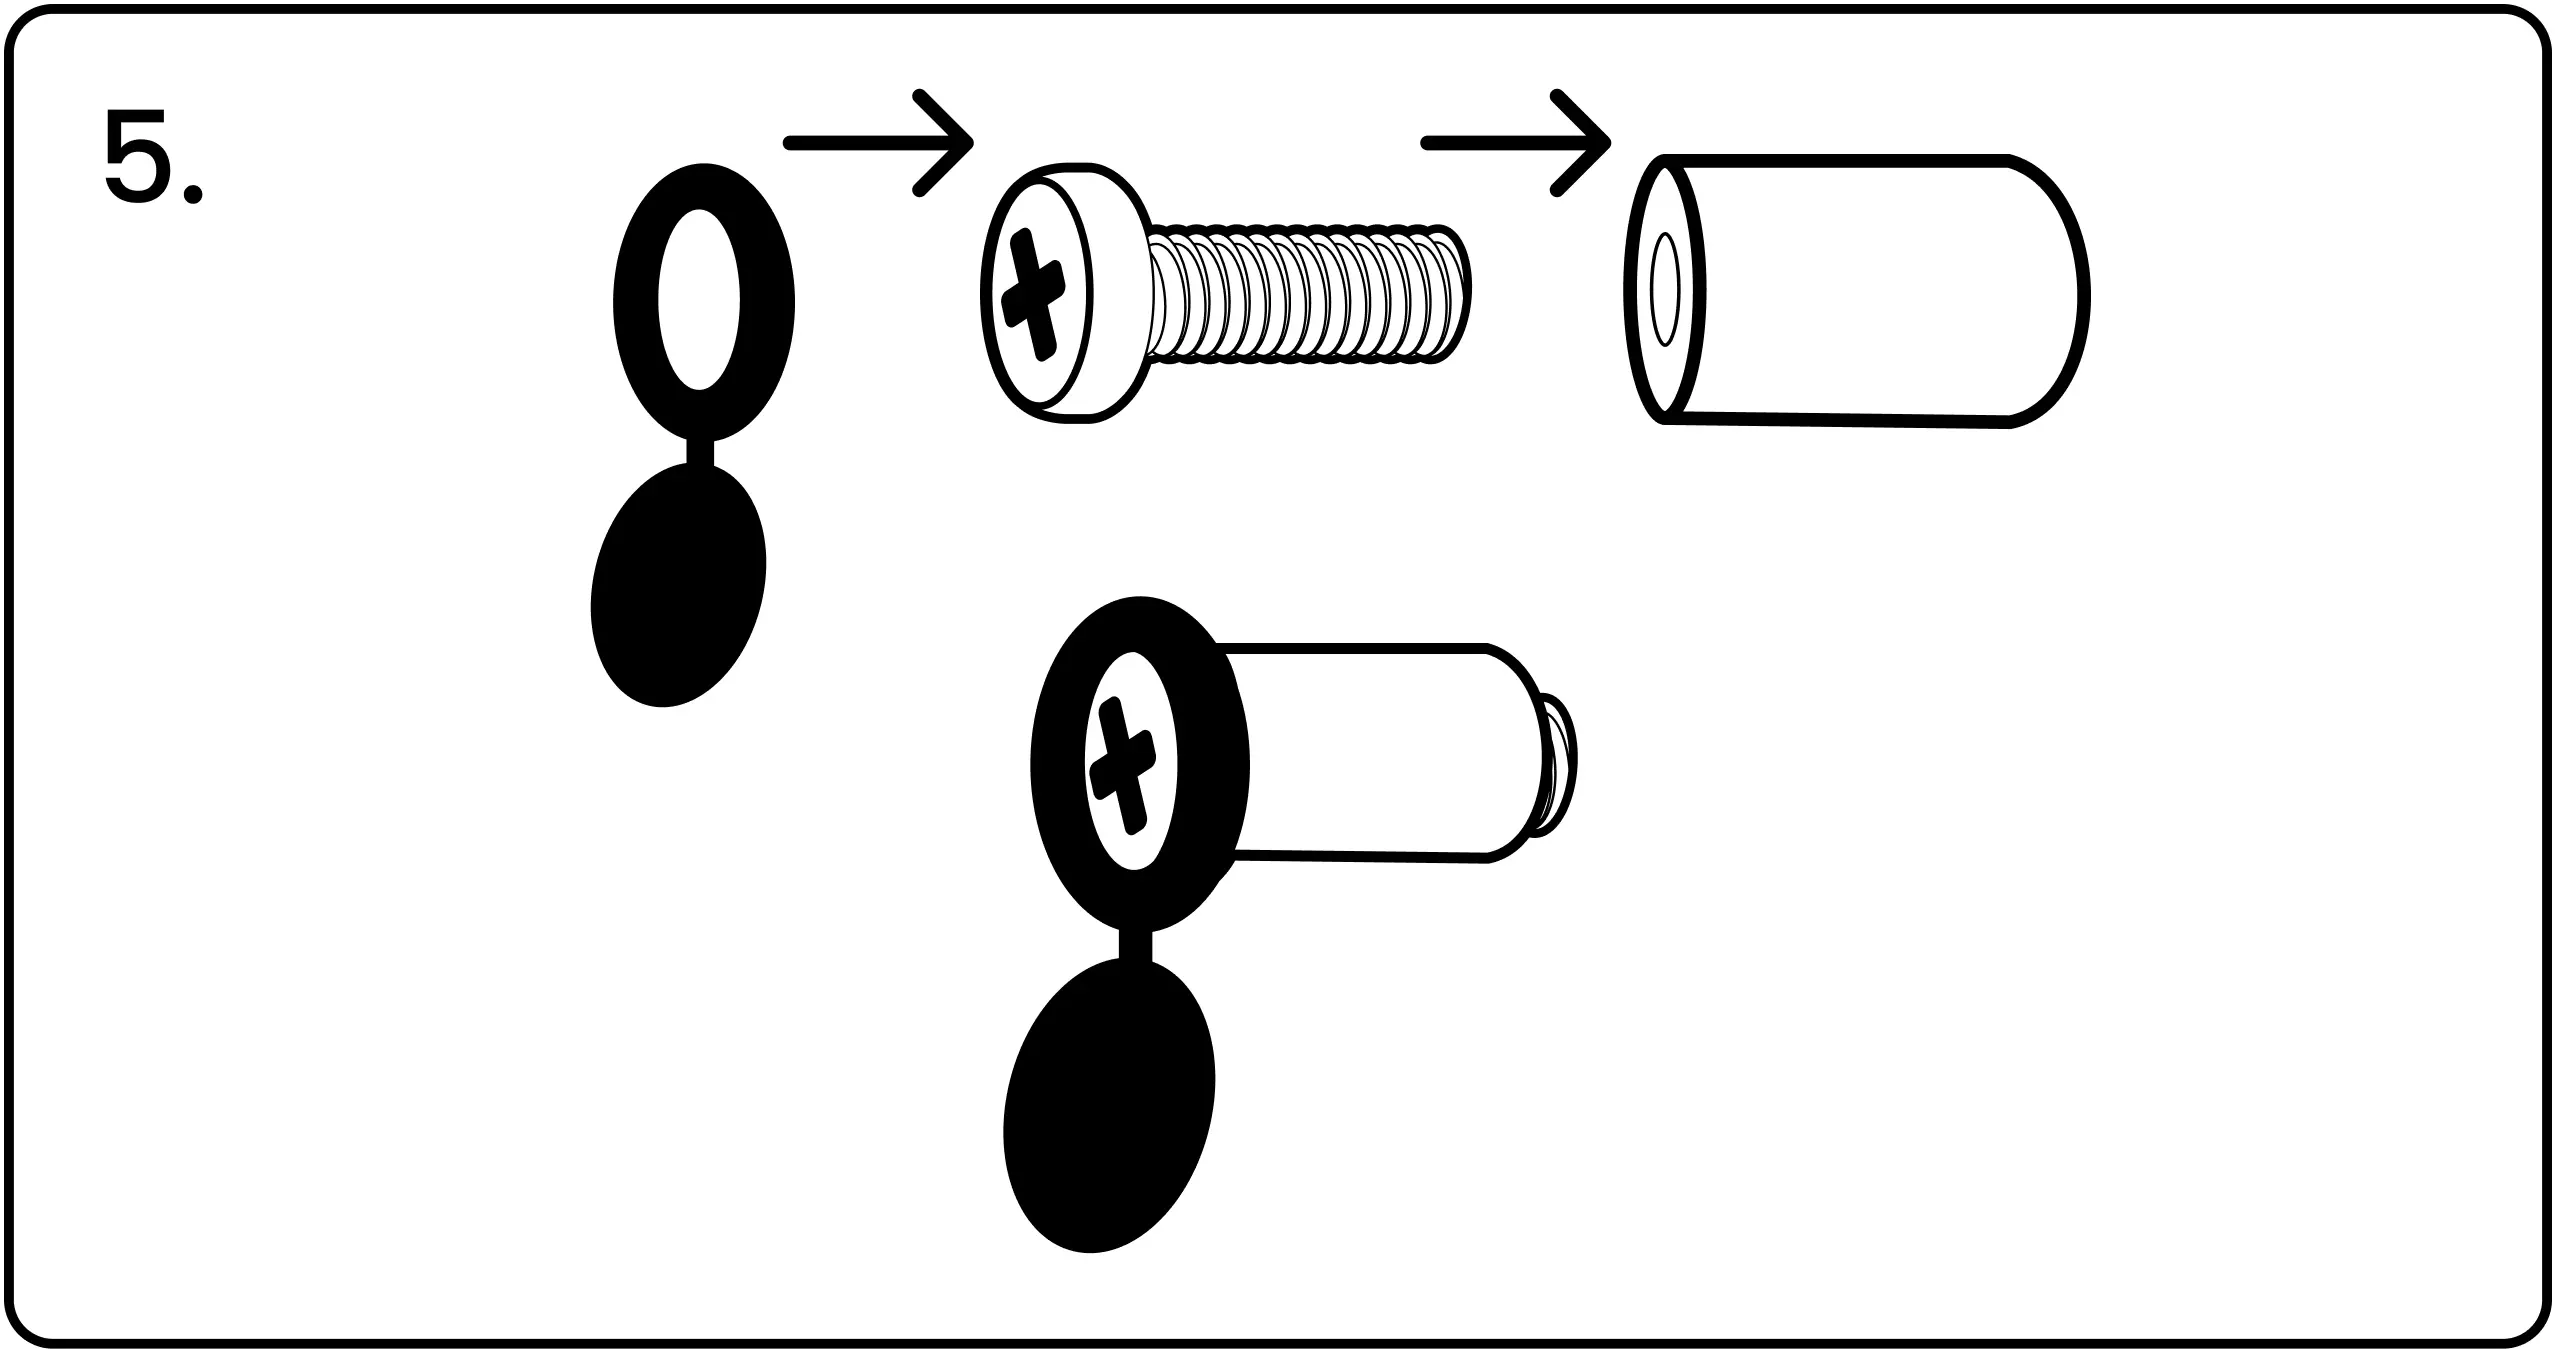
5. Collect the Screw, Cap, and Post from the Quick Kit. Assemble the parts as shown here.
6. Screw the cap/screw/post assembly into the Mounting Bracket.

7. Close the cap over the end of the screw to finish.

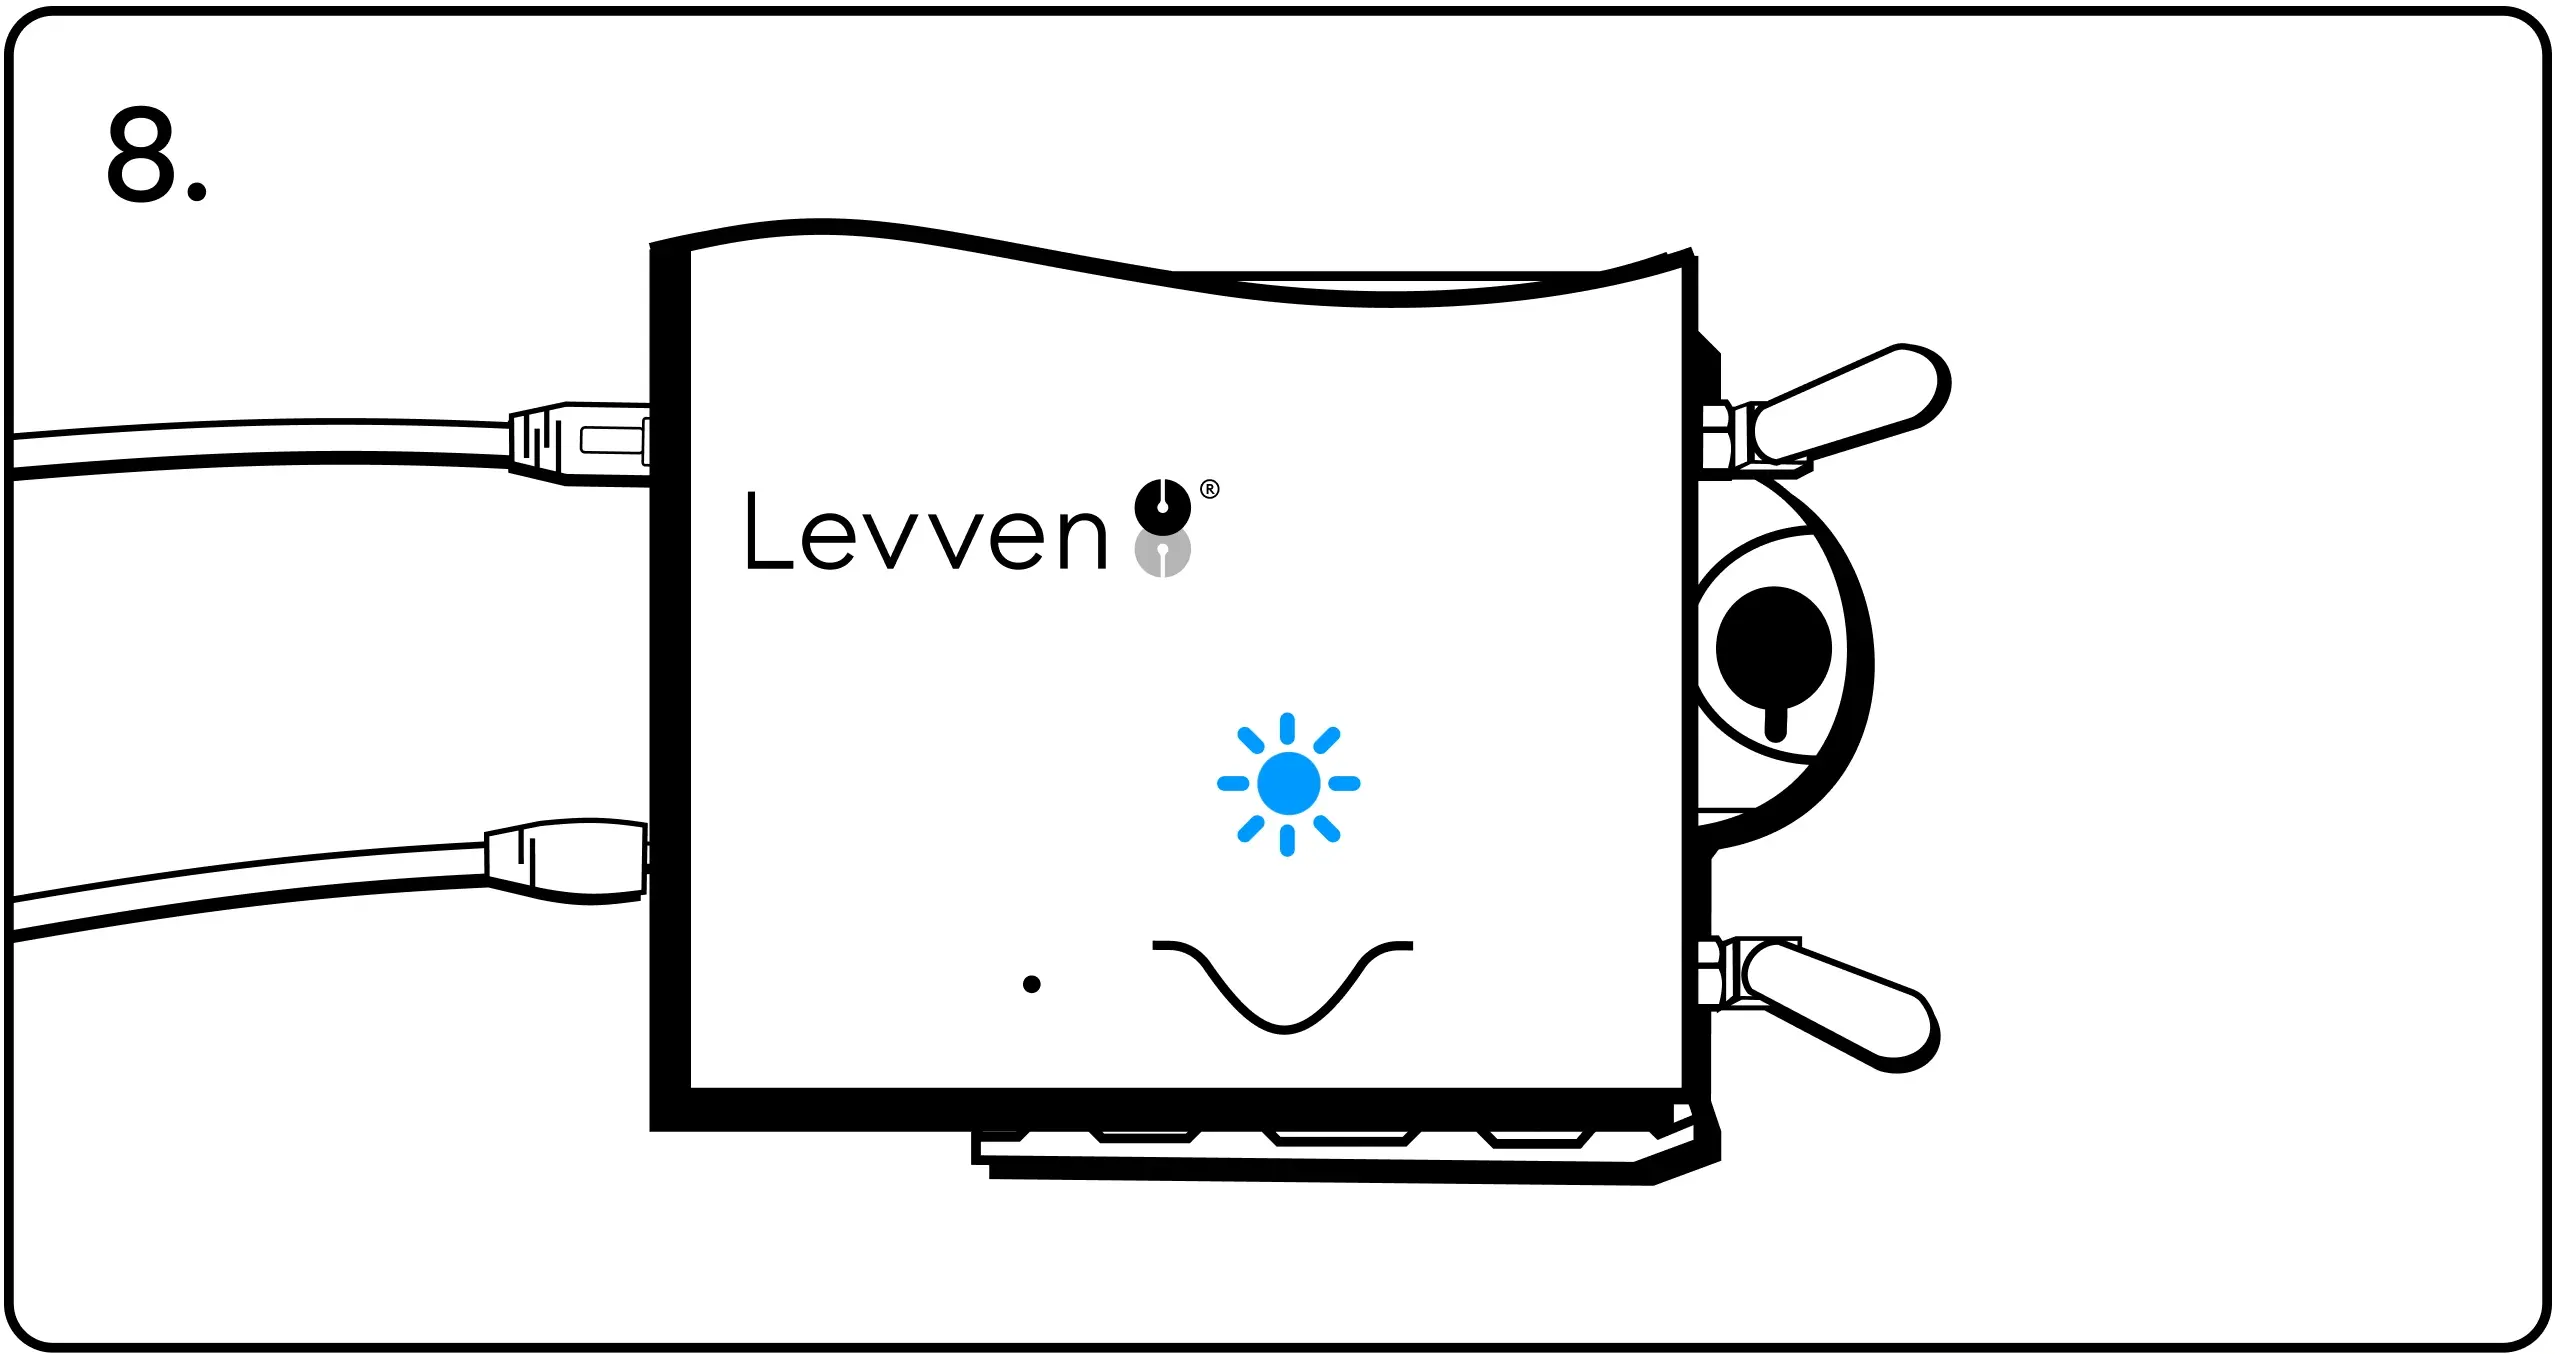
8. Connect the power adapter and network cable to the Levven Q to complete the installation. When powered, the LED on the Q Gateway will blink blue, indicating it is discovering the devices installed in the home.
Connect Q Gateway to Power
Plug the the power cord into the Q Gateway power input. Connect the other end into the electrical outlet.
How to Add Levven Q Gateway to a Home Group
Before the Levven Q network gateway can communicate with the switches and controllers in the home, it must first be added to the controller group like the rest of the controllers. Once connected to the home’s Wi-Fi router, the Levven Q Gateway allows the Levven Controls mobile app to detect and communicate with the installed switches and controllers throughout the home.
This video demonstrates the steps of adding a Q to a controller group:
Remove Security Screw
Using a screwdriver, unscrew the security screw from the mounting bracket. Store or dispose of the screw as per the builder's protocol.
When the screw is out, the homebuyer can take the Q Gateway off the mounting bracket and access the back of the device.
Review the Installation
Congratulations on completing an electrical installation with Levven Controls. Confirm these were done:
Electrical Plans Levven Quick Kit Installing Controllers Installing Switches Blue Wall Plate